![]()
How to Clear Temp Folder & Files in Ubuntu?
Is your Ubuntu System running slower than usual, and there is a huge pile of temporary files causing this issue?
All modern-day Operating Systems have several temporary files that serve different purposes. These temporary files can help boot up frequently used applications or tools faster. However, the “/tmp” directory that contains these temporary files can become overloaded, which causes the System to perform poorly.
The user can clear the temporary files and folders in the “/tmp” directory to resolve the performance issue. The user can also find files older than 10-12 days and delete them. This guide will explain different methods of removing the temp files and folders from your Ubuntu System.
How to Clear Temp Folder & Files in Ubuntu?
Temporary files and folders are placed inside the “/tmp” directory in the Ubuntu Operating System. These files take up storage space on the disk, so clearing them after a while is recommended.
To clear the temporary files in Ubuntu, locate the “/tmp” folder and remove its files using the “find” and the “delete” commands. To entirely remove the “/tmp” directory, you can use the “rm” command. Alternatively, you can set up an automatic deletion of temporary files and folders from the settings.
Moreover, you can set up a cron job that will delete temporary files and folders from your Ubuntu system at a fixed time daily.
Method 1: Use the “find” Command to Clear the Temp Folder
The “find” command in Linux can be used to locate files and folders by specifying certain patterns or paths. However, the same “find” command can be combined with other commands to filter the search results and apply different operations as needed.
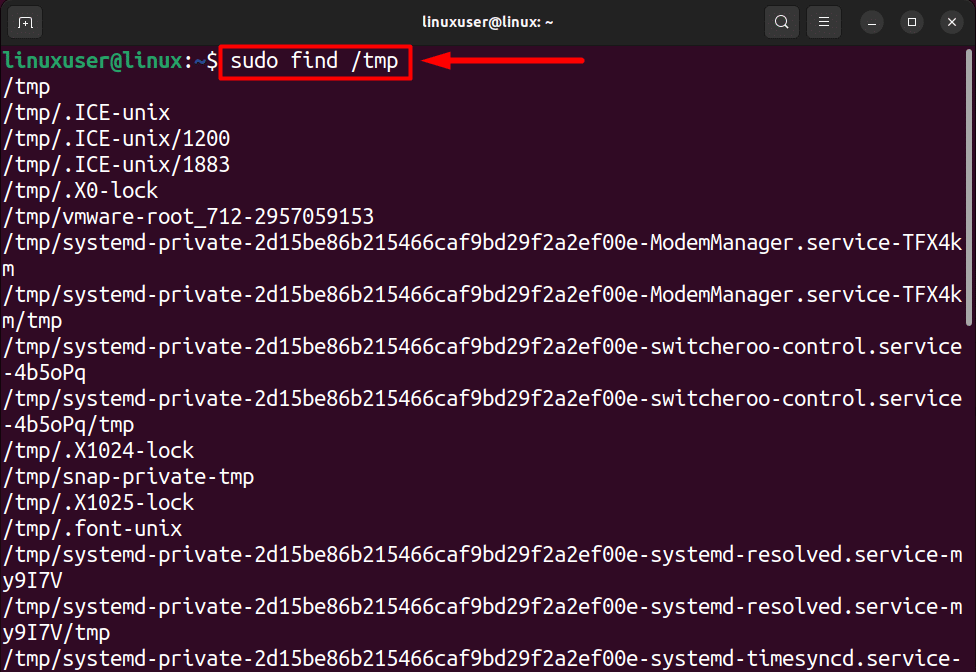
To clear the temp folder with the help of the “find” command, open up a new terminal session and then execute the following command:
sudo find /tmp
Running this command will locate and list all the files in the “/tmp” on the terminal, which will look like this:
Next up, use the “type” flag to specify the “files” and then use the delete command to remove them from within the “tmp” directory.
sudo find /tmp -type f -deleteExecuting this command directly will require you to have sudo access privileges.
Method 2: Use the “rm” Command to Clear the “tmp” Folder
You can utilize the “rm” in the “/tmp” directory to clear all of the temporary files from your Ubuntu machine. To do this, there are two different approaches. The first approach revolves around changing the “pwd” or the present working directory to the “tmp” and then using the “rm” to remove all files from that directory.
To do this, open up a terminal session on your Ubuntu machine and then execute the following command to change the present working directory to “/tmp”:
cd /tmp
Once that is done, run the following command to delete the files and folders in the “tmp” directory:
sudo rm -rf *
The second approach is to run the “rm” command to delete the files without having to change the “pwd” directory to the “/tmp” folder. To do this, open a new terminal session and execute the following command:
sudo rm -rf /tmp
You will be prompted to provide the password for the sudo user, and all of the files inside the “tmp” directory will be removed from your Ubuntu machine
Dracula Servers Dedicated Servers
When it comes to hosting Linux applications that demand superior performance and dedicated resources, Dracula Servers’ Dedicated Servers stand out as a reliable choice. Offering a range of powerful configurations, these dedicated servers are optimized for Linux environments, providing the ideal infrastructure for applications, websites, and services that require robust computing power. With Dracula Servers, you get full control over your server, allowing you to tailor it to your Linux-based requirements.
The dedicated support team ensures smooth operations and quick issue resolution, making Dracula Servers a trusted partner for those seeking top-notch Linux hosting solutions.
Explore the possibilities with Dracula Servers Dedicated Servers.
Method 3: Set up Automatic Clean Up Through Settings
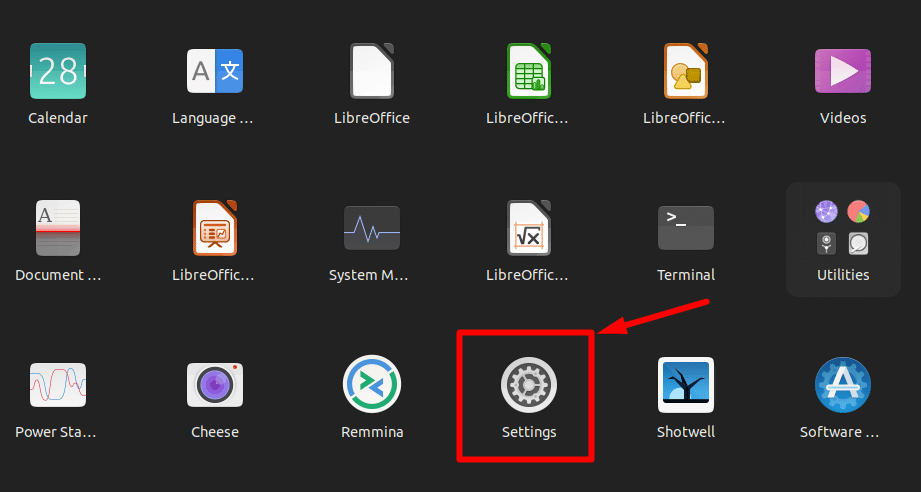
Apart from manually clearing the temporary directory of the Ubuntu file system, you can also set up automatic clean-up from the settings. To do this, head over to the settings application from the application tray:
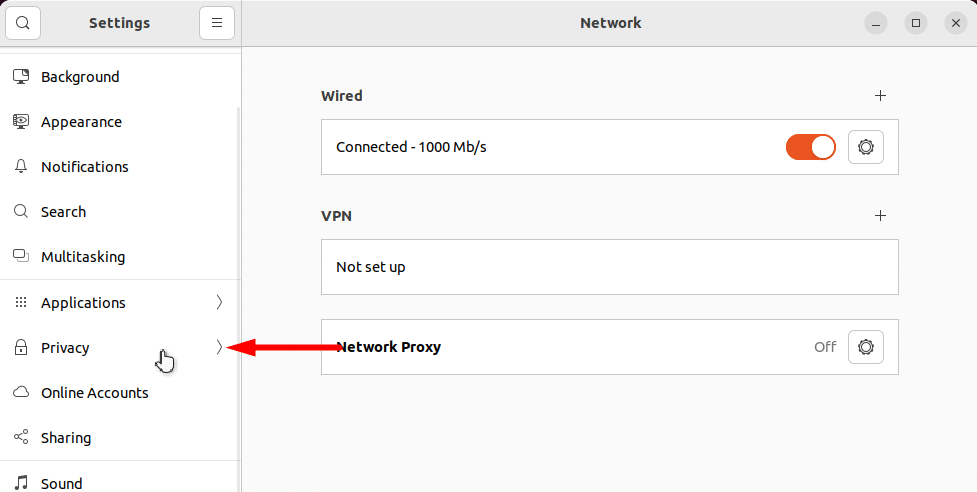
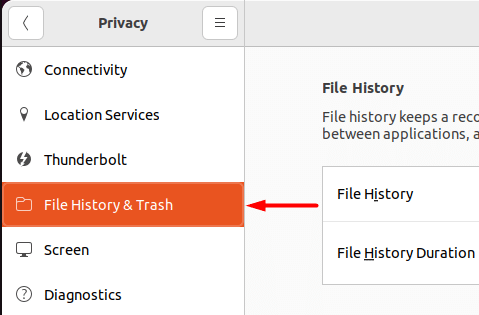
From the left-side navigation panel, head inside the “Privacy”:
Then, inside the privacy options, head inside the tab “File History & Trash” from the left-side navigation panel:
This will open the settings for the trash and temporary files. From here, you can toggle the slider to delete the temporary files and folder automatically and set a delete period: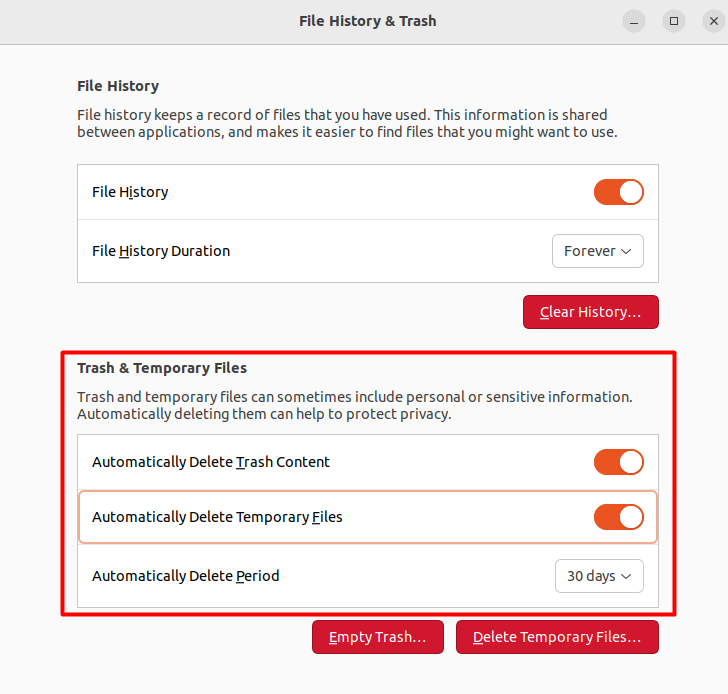
In case you don’t want to set an automatic clean-up, then you can use the buttons on this page to clear the temporary files manually:

Method 4: Clean Dependencies and Unused Packages
If you are looking to clear up space by cleaning the unused dependencies and packages, then you can run the autoremove command. However, removing dependencies doesn’t remove the files and folders inside the “/tmp” directory.
To do this, open a new terminal session and execute the following command:
sudo apt-get auto-remove
In addition to this, you can execute the autoclean command as well:
sudo apt-get clean
Wrap Up
To clean the temporary files and folders inside, you can use the “find” command to list all of the files and directories inside the “/tmp” folder and then use either the delete flag or the rm command. Moreover, you can use the “find” command to list only the files inside the “/tmp” directory to see if the temporary folder is full or not.
Otherwise, you can use the “rm” inside the “tmp” to remove the files and folders. Another thing that can be done in Ubuntu is automatically cleaning up by using the options available in the settings application. The GUI of the settings application can be used to clear the temporary files and trash files as well manually.
Lastly, if you are looking to remove the unused dependencies or packages, then you can execute the “Autoremove” or the “Autoclean” command in a terminal session.
Subscribe
Login
0 Comments
Oldest