![]()
How to Install LAMP (Apache, MySQL, PHP) Stack on Ubuntu 18.04
Overview
LAMP Stack is a group of very popular open-source software, that when used together enable us to host dynamic websites and web apps. LAMP is actually an acronym that stands for:Linux – in this case, it is our Ubuntu 18.04 machineApache – the most popular web server, that will serve content to our visitorsMySQL/MariaDB – one of the most popular database management systems which will allow to manage and store our data in databasesPHP – the popular and powerful server scripting language that will dynamically process our pages
In this tutorial we’ll install LAMP Stack on an Ubuntu 18.04 machine.
Prerequisites
Update your package index to make sure we have access to the latest software releases:
$ sudo apt updateStep 1 – Install Apache
$ sudo apt install apache2After you run the command,
aptwill show you what packages it will install, how much disk space it they’ll take up, and ask you to confirm. To proceed, typeYand pressEnter.
With Apache2 is installed, you can use the following commands to stop, start and enable the Apache2 service to always start up when the server boots.
sudo systemctl stop apache2.service
sudo systemctl start apache2.service
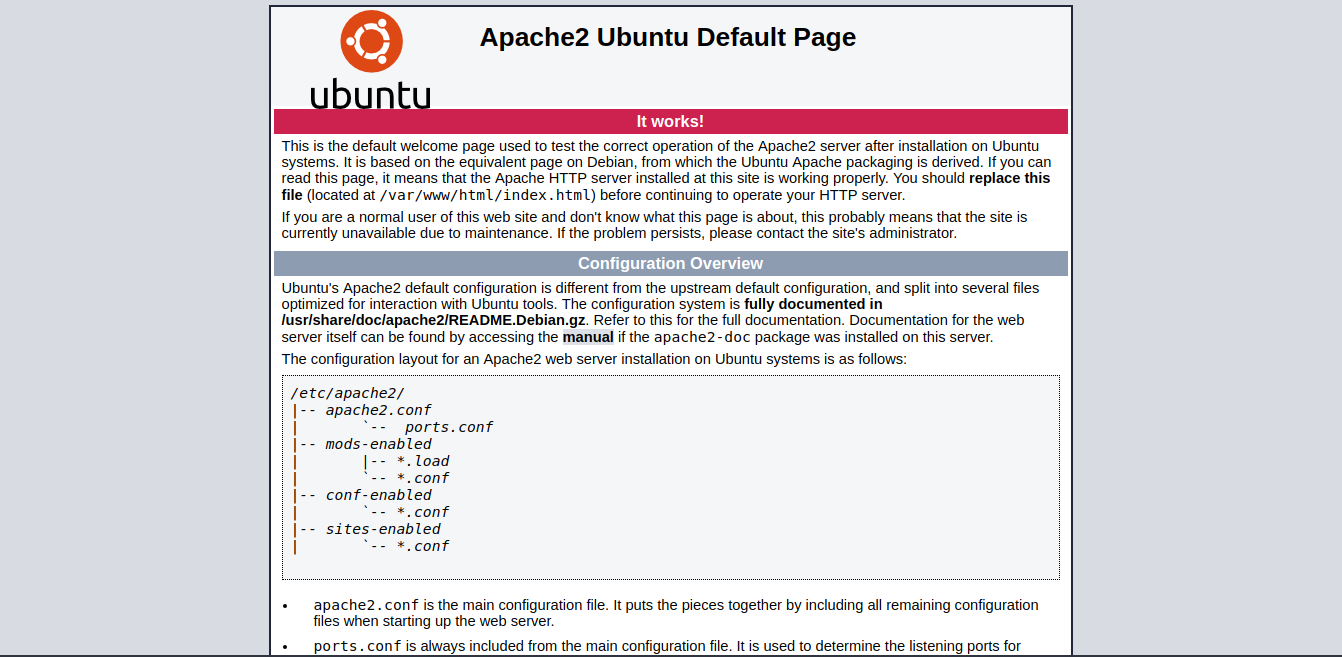
sudo systemctl enable apache2.serviceYou can also check if Apache is up and running on your machine by visiting your server’s IP address in your browser ( example: http://XX.XXX.XX.XX ).
You should be seeing Apache’s default page on Ubuntu:
Step 2 – Install MySQL/MariaDB
$ sudo apt install mysql-serverYou can opt to install MariaDB instead of MySQL, and after you can follow the same instructions as you would with MySQL.
$ sudo apt install mariadb-serverAfter running the command to install MySQL or MariaDB,
aptwill show you again what packages it will need to install, how much disk space they’ll take up, and ask you to confirm. TypeYand pressEnterto confirm and continue with the installation.
MySQL comes with a script that helps in securing the installation by removing some dangerous defaults. To start the script, run the following command:
$ sudo mysql_secure_installationFirst, it will ask you if you’d like to enable VALIDATE PASSWORD PLUGIN.
If you enable this, then depending on the type of validation you choose (
LOW,MEDIUMorSTRONG), MySQL will return errors if your password does not meet the specified criteria for the policy you’ve chosen. This may conflict with other software packages, so it is up to you to decide. In our tutorial, we will chooseY.
We’ll choose 1. We recommend you choose what level of complexity you prefer between MEDIUM and STRONG.
There are three levels of password validation policy:

LOW    Length >= 8
MEDIUM Length >= 8, numeric, mixed case, and special characters
STRONG Length >= 8, numeric, mixed case, special characters and dictionary file

Please enter 0 = LOW, 1 = MEDIUM and 2 = STRONG: 1
Please set the password for root here.
New password: Enter passwordRe-enter new password: Repeat password
You’ll also be prompted to answer some questions to remove/keep some defaults. We recommend you answer them as follows:
Remove anonymous users? [Y/n]: YDisallow root login remotely? [Y/n]: YRemove test database and access to it? [Y/n]: YReload privilege tables now? [Y/n]: Y
To make sure MySQL is properly installed, let’s test it out by running the following command, and entering the password you just created at the prompt:
$ sudo mysql -u root -pTo exit just run:
exit;Step 3 – Install PHP
Ubuntu 18.04 comes with the latest PHP installed, which is version 7.2. You can install PHP, the Apache PHP module, and a few other PHP related modules by running the following commands:
$ sudo apt install php libapache2-mod-php php-common php-mbstring php-xmlrpc php-soap php-gd php-xml php-intl php-mysql php-cli php-zip php-curlTest the PHP version:
Now that all the PHP packages are installed, restart Apache to make sure the changes are implemented:
$ sudo systemctl restart apache2To check that PHP is up and running with Apache, you can create a simple PHP file in the Apache2 root directory, which is /var/www/html/.
To create this file run the following commands:
$ sudo nano /var/www/html/phpinfo.phpAnd add the following line to the file:
<?php phpinfo(); ?>
Save the file and exit the editor when you’re finished.
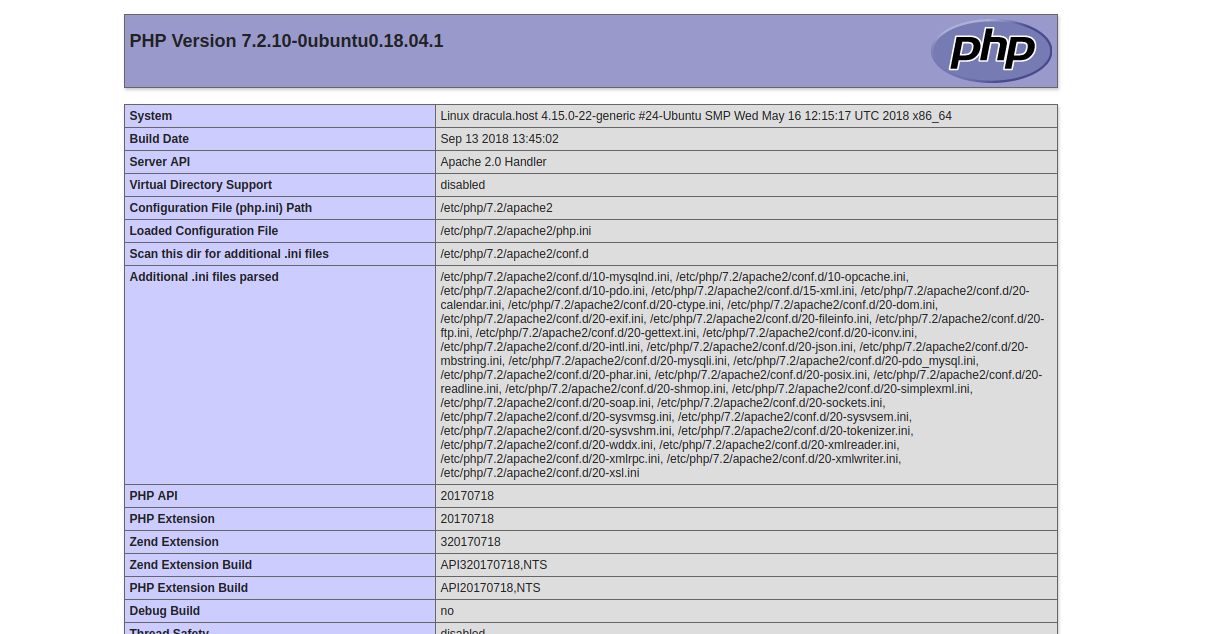
Now visit http://your_ip/phpinfo.php, and you should see the default PHP test page:
Conclusion
Congratulations. If everything went well then you’ve successfully installed LAMP Stack on your Ubuntu 18.04 machine.
If you’re ready to host your app and need a high performance budget server, then check out our Linux KVM VPS. They start at 1GB RAM & 10GB SSD at only $9.99/mo.
Subscribe
Login
0 Comments