![]()
How to Install Zabbix 4.0 on Ubuntu 18.04 & 16.04

Zabbix is one of the most popular open-source monitoring software tools. With Zabbix you can monitor virtual machines, cloud services, networks and other various IT components.
Zabbix collects large amounts of data and helps with better understanding it by displaying it in a more readable format. Some of the metrics that Zabbix helps you monitor include network utilization, CPU load and disk space consumption.
The Zabbix agent has a small footprint and can run on multiple platforms, including Linux, UNIX, macOS and Windows.
In this tutorial we install Zabbix 4.0 on an Ubuntu 18.04 or 16.04 machine. There is a single step that differentiates the install process for these two distros.
For additional info, you can also check the Zabbix Homepage.
Table of Contents
Prerequisites
- To follow this tutorial we should assume that you have either
LEMP StackorLAMP Stackinstalled on your Ubuntu 18.04 / 16.04 machine. We provide quick instructions on how to set upLAMP Stackin Step 1 of this tutorial, for your convenience, but for a more detailed instructions you can check one of the following tutorials:
How to Install LAMP (Apache, MySQL, PHP) Stack on Ubuntu 18.04
Install Linux, Nginx, MariaDB & PHP7.3 (LEMP Stack) on an Ubuntu 18.04 VPS - You are logged in as a non-root sudo user. If you need help, then please do follow our tutorial on how to create sudo users on Ubuntu.
Step 1 – Add Zabbix Repositories
Before installing Zabbix, we’ll first have to add the required repositories to our system. To do so, run the following commands, depending on your operating system:
Ubuntu 18.04 (Bionic Beaver)
$ cd /tmp
$ wget https://repo.zabbix.com/zabbix/4.0/ubuntu/pool/main/z/zabbix-release/zabbix-release_4.0-2+bionic_all.deb
$ sudo dpkg -i zabbix-release_4.0-2+bionic*.deb
Ubuntu 16.04 (Xenial Xerus)
$ cd /tmp
wget https://repo.zabbix.com/zabbix/4.0/ubuntu/pool/main/z/zabbix-release/zabbix-release_4.0-2+xenial_all.deb
sudo dpkg -i zabbix-release_4.0-2+xenial*.deb
Step 2 – Install Zabbix
Now that the required repositories have been added, we can go ahead and run the commands to install Zabbix.
First we update our package index:
$ sudo apt updateAnd install Zabbix along with a few other required packages:
$ sudo apt install zabbix-server-mysql zabbix-agent zabbix-frontend-php php7.2-bcmathStep 3 – Create a Database for Zabbix
With Zabbix installed, we’ll now create a database for our Zabbix server. Basically we’re creating an empty database that Zabbix will use to manage data.
Log onto the MariaDB/MySQL server (depending which you installed), by running the following command.
$ sudo mysql -u root -pYou’ll probably be presented with a prompt where you submit your MariaDB/MySQL root password.
Assuming you’ve logged into the database server, we’ll now create the database and user that Zabbix can use:
- Create a database. We’ll call it
zabbix_dbbut you can call it whatever you want.MariaDB [(none)]> CREATE DATABASE zabbix_db character set utf8 collate utf8_bin; - Create a user that will manage the database and assign it a strong password. We’ll call it
zabbix_userbut you can call it whatever you want, and we’ll assign it the passwordF&j3e^!yV}A"tC/T.MariaDB [(none)]> CREATE USER 'zabbix_user'@'localhost' IDENTIFIED BY 'F&j3e^!yV}A"tC/T'; - Now grant the user
zabbix_userfull access to the database, so it can manage it:MariaDB [(none)]> GRANT ALL ON zabbix_db.* TO 'zabbix_user'@'localhost' IDENTIFIED BY 'F&j3e^!yV}A"tC/T' WITH GRANT OPTION; - Finally, we’ll reload the grant tables in the database, thus enabling the changes to take effect without restarting the mysql service, and exit:
MariaDB [(none)]> FLUSH PRIVILEGES;
MariaDB [(none)]> exit;
Step 4 – Configure Zabbix
Now we can configure Zabbix.
First, we’ll configure it to use the database and user we just created. To do this, open the Zabbix config file using your favorite text editor ( I’m a nano guy myself):
$ sudo nano /etc/zabbix/zabbix_server.confWe’ll set the DBName, DBUser and DBPassword. I’ll set them with the database, user and password I created earlier.
#       Database name.
#       For SQLite3 path to database file must be provided. DBUser and DBPassword are ignored.
#
# Mandatory: yes
# Default:
# DBName=

DBName=zabbix_db

### Option: DBSchema
#       Schema name. Used for IBM DB2 and PostgreSQL.
#
# Mandatory: no
# Default:
# DBSchema=

### Option: DBUser
#       Database user. Ignored for SQLite.
#
# Mandatory: no
# Default:
# DBUser=

DBUser=zabbix_user

### Option: DBPassword
#       Database password. Ignored for SQLite.
#       Comment this line if no password is used.
#
# Mandatory: no
# Default:
DBPassword= F&j3e^!yV}A"tC/T
Save the file and exit when you’re done.
IMPORTANT: We need to import initial schema and data for the server with MySQL. To do this, run the following, after which you’ll be prompted to enter the newly created database user password – in our case it’s F&j3e^!yV}A"tC/T
$ zcat /usr/share/doc/zabbix-server-mysql/create.sql.gz | mysql -uzabbix_user -p zabbix_dbOPTIONAL: You can also change add ahostname for when we access Zabbix. To do this, open the Zabbix agent using your favorite text editor and change the hostname. If you don’t do this step, you can still access Zabbix by visiting http://your_IP_or_domain/zabbix
$ sudo nano /etc/zabbix/zabbix_agentd.confAnd add a hostname for your server. In the example we’ve added zabbix as the subdomain, but you can add whatever you want:
# Mandatory: no
# Default:
# Hostname=

Hostname=zabbix.your_domain.com
Save and close the file when you’re done.
Another configuration we’ll need to do is configure the date.timezone in php.ini for Zabbix.
To do this, open /etc/php/7.2/apache2/php.ini in your favorite text editor, find ;date.timezone = and uncomment it by removing the ; at the beginning of the line. Then change it to the one you prefer – you can find a list of timezones here. I changed it to date.timezone = "US/Central", for example.
And we’re done with configuring Zabbix. We can now proceed to complete the install in the browser.
Step 5 – Complete Zabbix Install Wizard
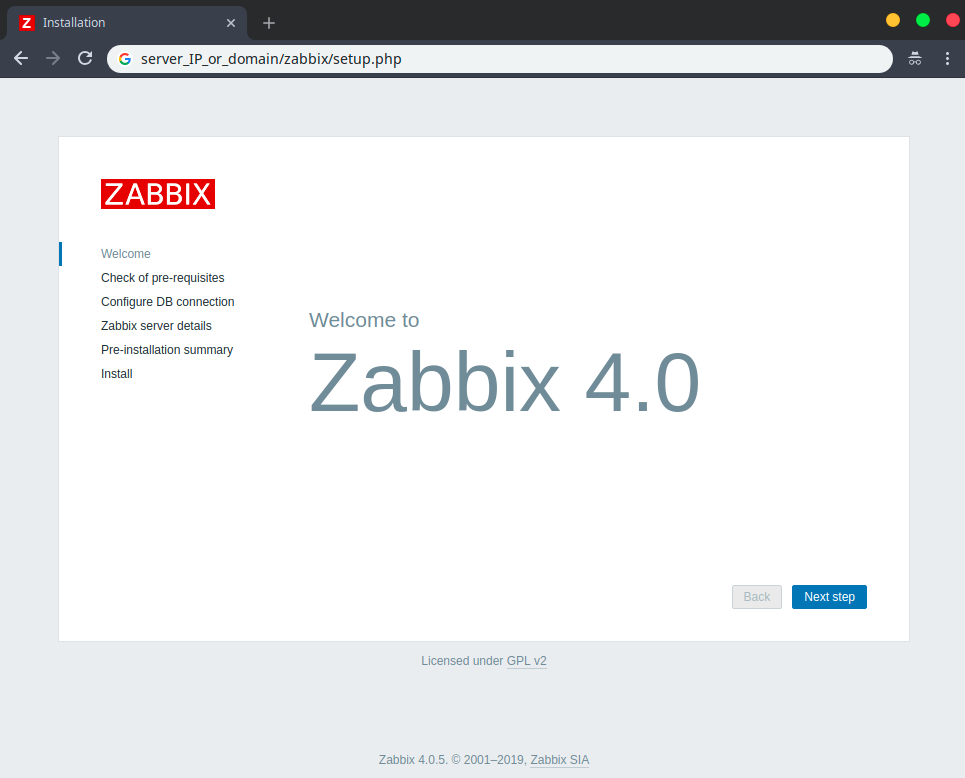
To complete installing Zabbix in the browser, visit your server IP or the domain you assigned followed by /zabbix.
We didn’t add a domain, so we’re just visiting our IP, such as http://123.123.123.123/zabbix.
You’ll be greeted by the Zabbix setup page. You can click on Next Page to continue the setup.
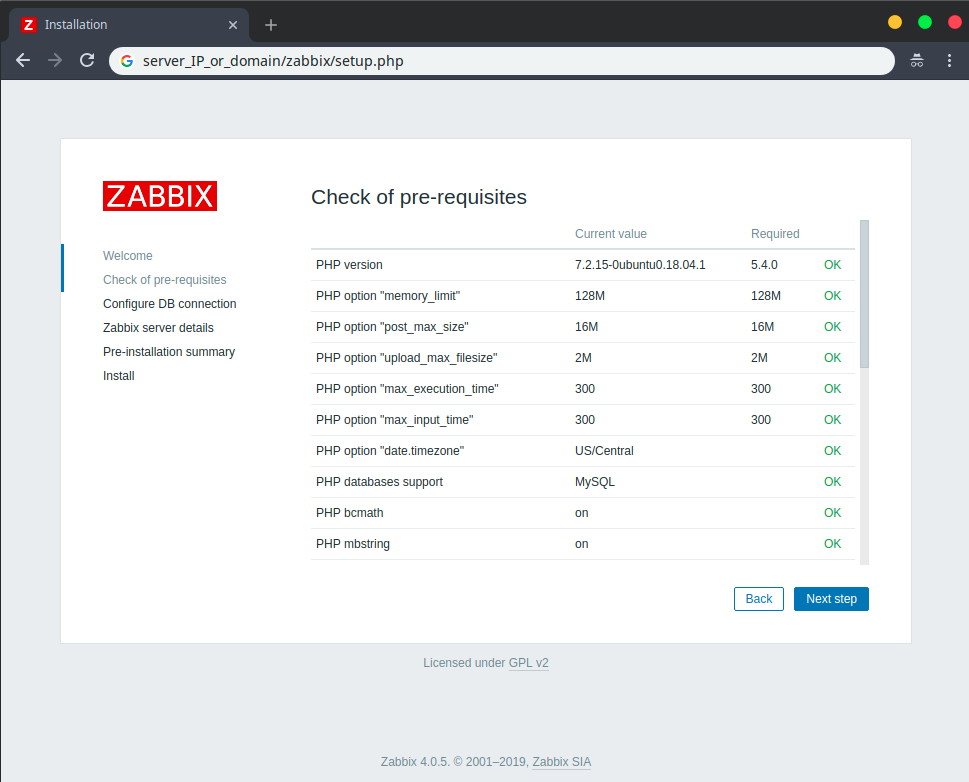
In the second step the Zabbix setup wizard is checking if all requirements are met. As we can see in the screenshot everything’s OK.
NOTE:If you get an issue then please do let us know down in the comments along with a screenshot and we’ll try to help.
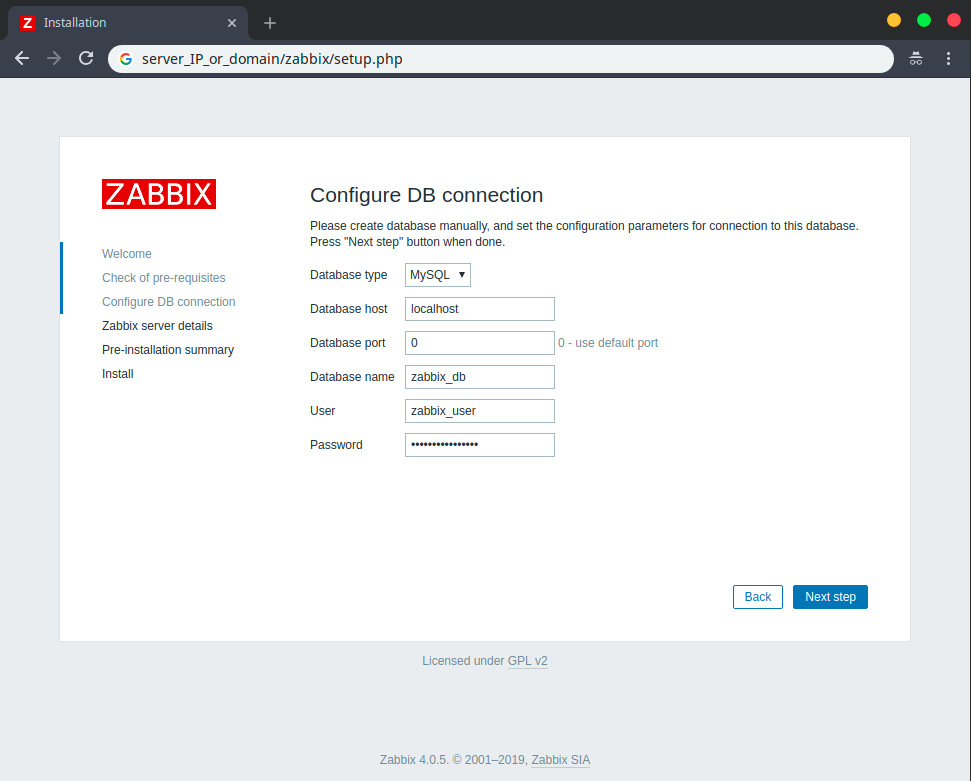
On the Configure DB Connection page we’re asked to provide the Zabbix wizard with the database, user and password we created just earlier.
In our case, they are zabbix_db, zabbix_user and F&j3e^!yV}A"tC/T
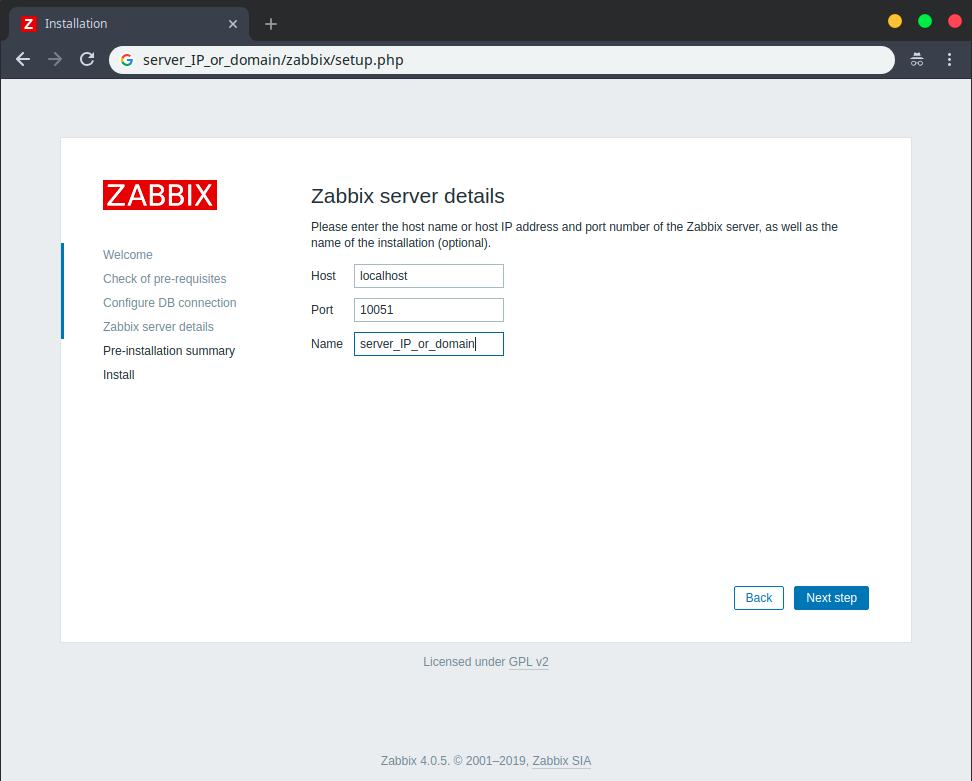
Now type the Zabbix server name. In our case it was the IP of our server.
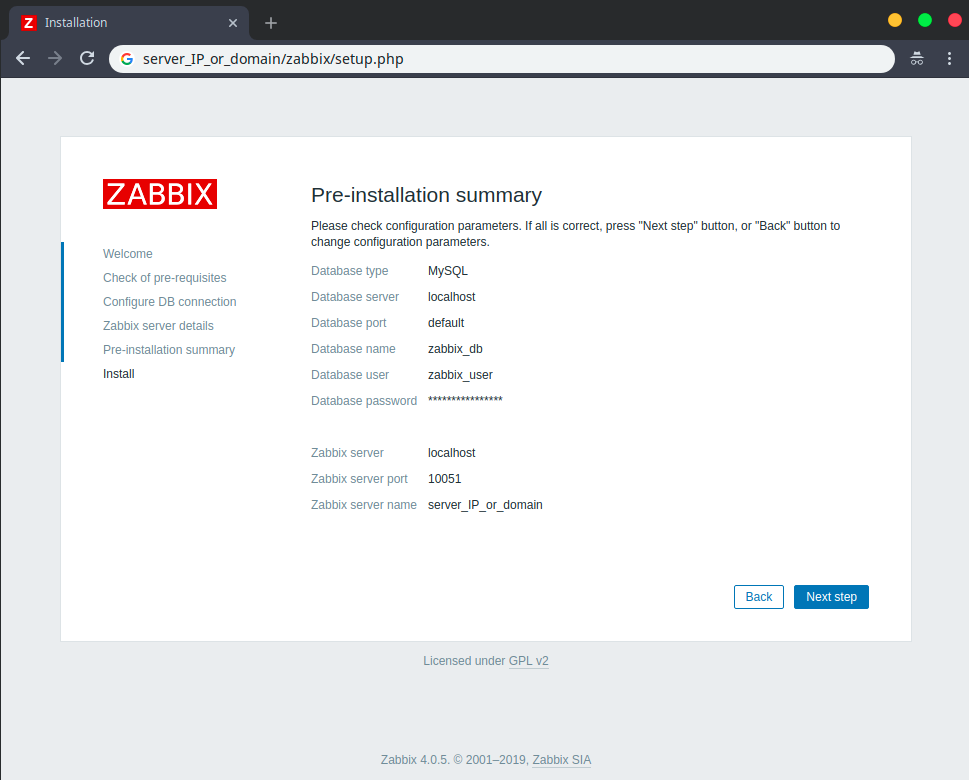
You’ll be presented with a summary of what we just configured so you can get a good look without finalizing the installation. If everything looks on to you then you can proceed.
And Zabbix has been successfully installed.
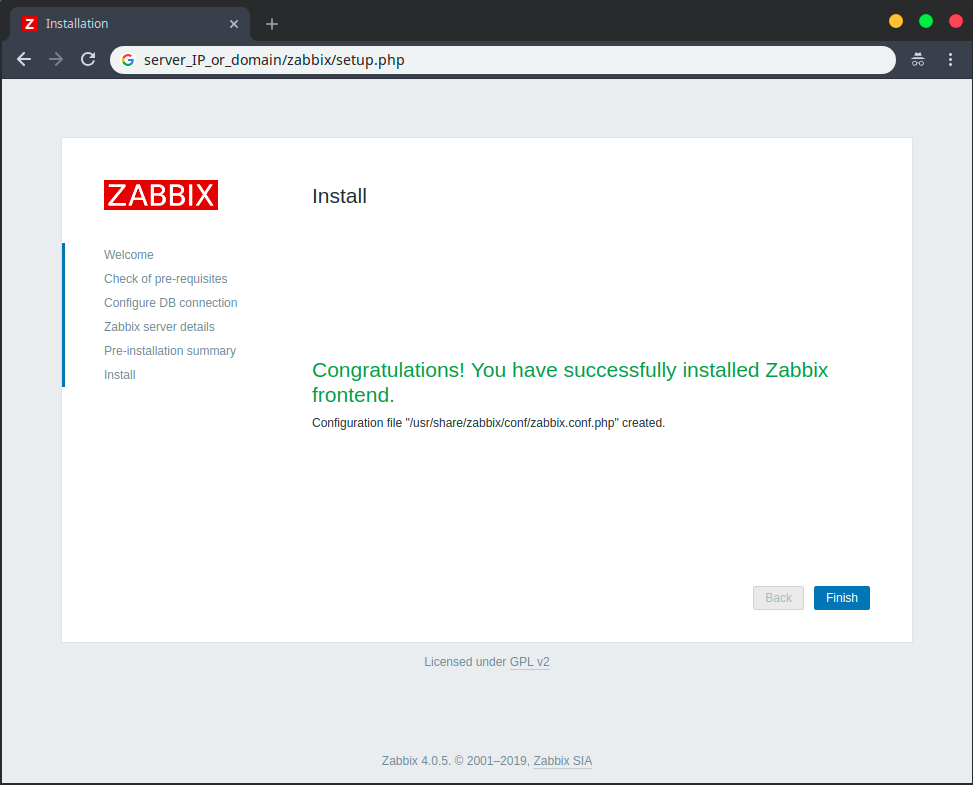
Now you can log into your Zabbix dashboard.
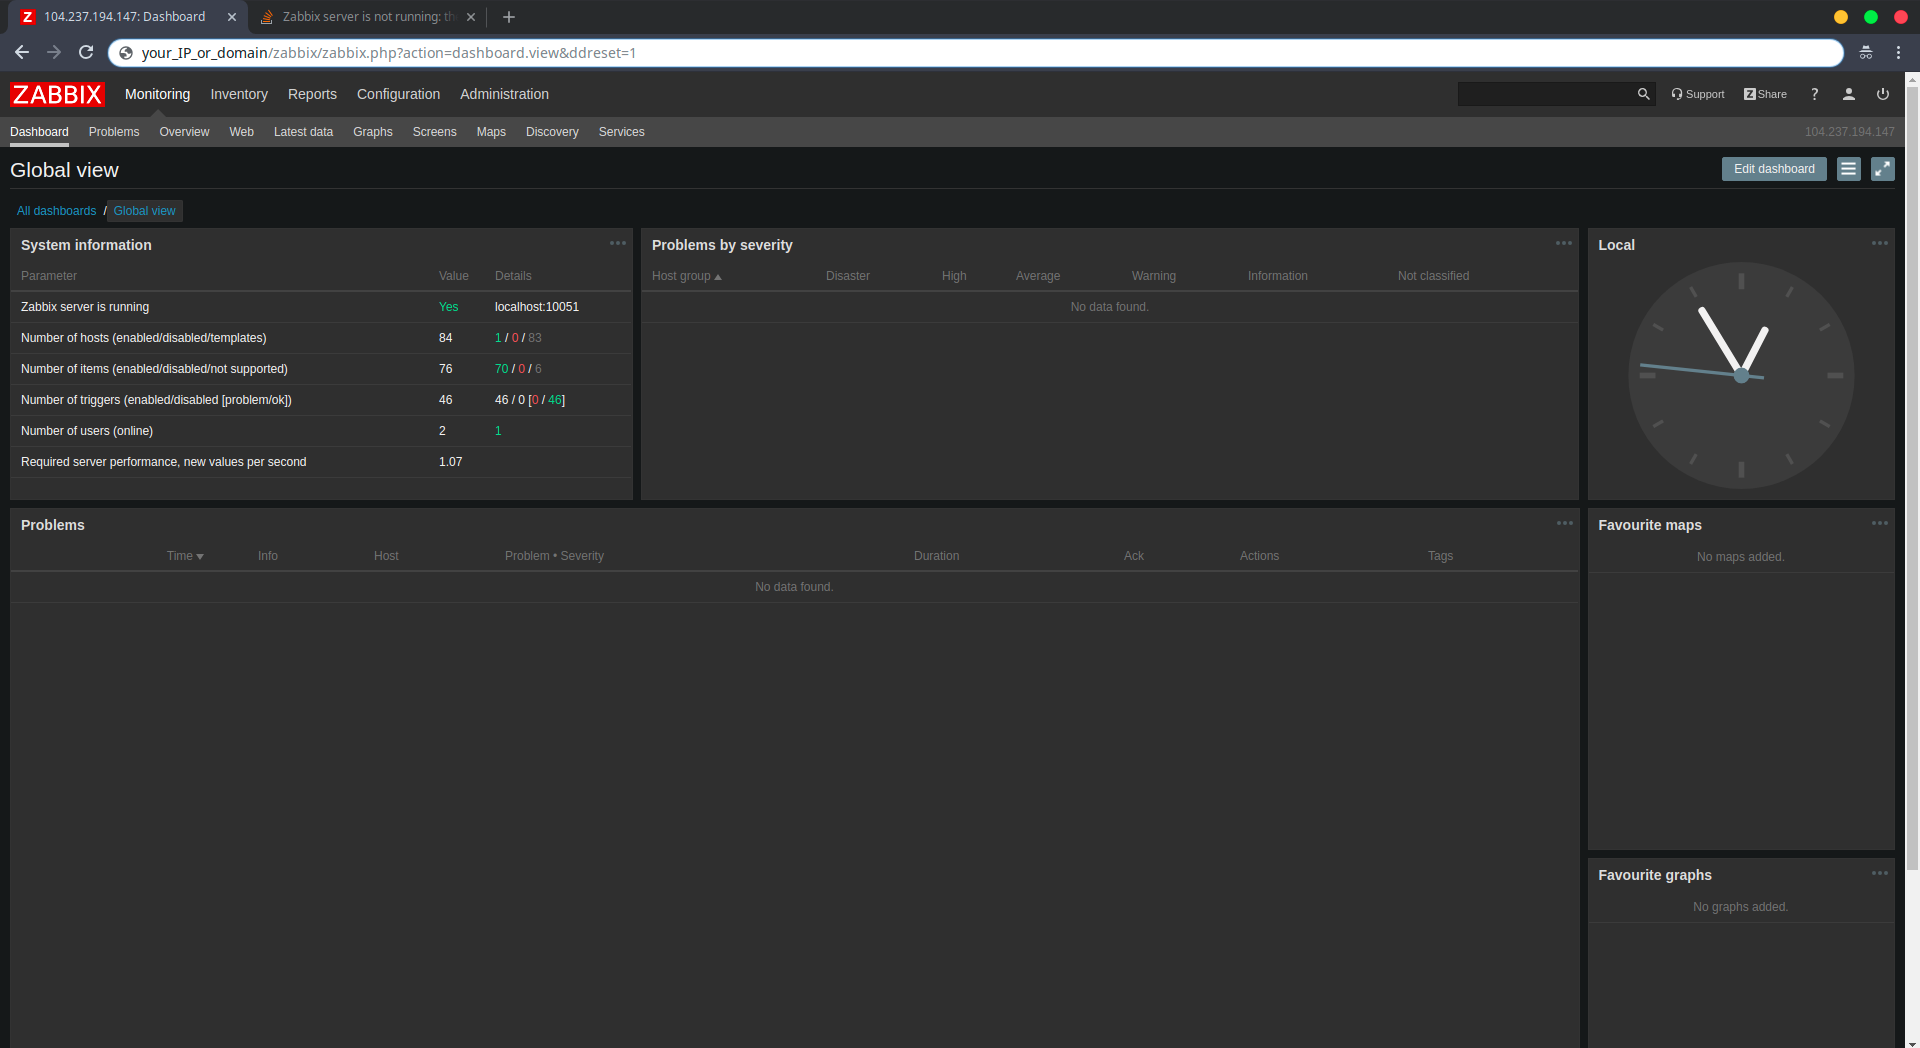
The initial credentials are the following ( case sensitive ):
Username: Admin
Password: zabbix
You can change them in your profile in the dashboard. You can also change the Zabbix dashboard, as I’ve done below.
Conclusion
If you’ve made it this far, then congratulations. You’ve successfully installed Zabbix 4.0 on an Ubuntu 18.04 / 16.04 server.
We hope this tutorial has been useful to you and if you’ve run into any issue don’t hesitate to contact us in the comment section below and we’ll try to help as soon as possible.
Cheers!
Subscribe
Login
0 Comments