![]()
How to Screen Record in Ubuntu – Best Options
Screen recorders have become one of the essential tools in this era of video tutorials and gaming broadcasts. You might have seen Linux user’s videos and want to do the same thing in your videos. Linux has its native screen recorder, which you can use, or you can install 3rd-party applications like SimpleScreenRecorder and OBS Studio if you are looking for more features and options to choose from.
In this article, we have covered all the best options for you to use, from the easiest to the most advanced solutions.
Table of Contents
Method 1: Screen Recording Using Ubuntu Default Application
The easiest way to screen record in Ubuntu is to use Ubuntu’s built-in screen recorder. Yes, you have read it right. Ubuntu comes with its own screen recording application. You don’t have to download and configure a 3rd party app just for simple screen recording. You can simply screen record by pressing the keyboard shortcut Ctrl+Alt+Shift+R.
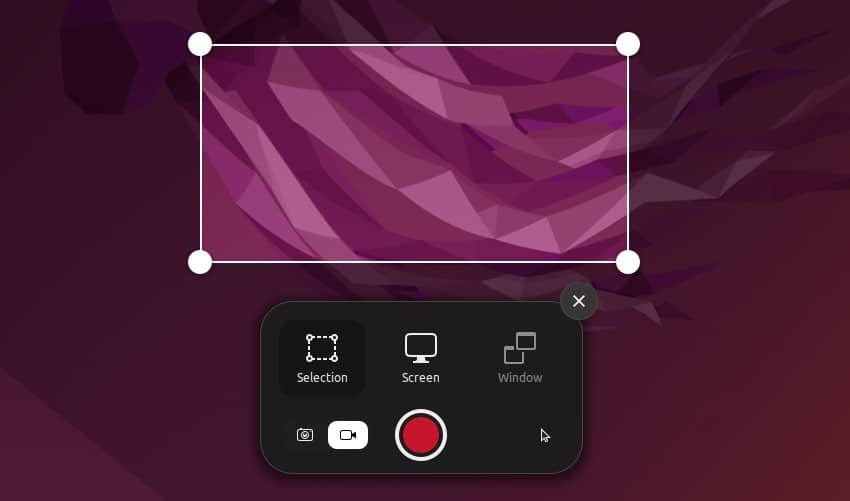
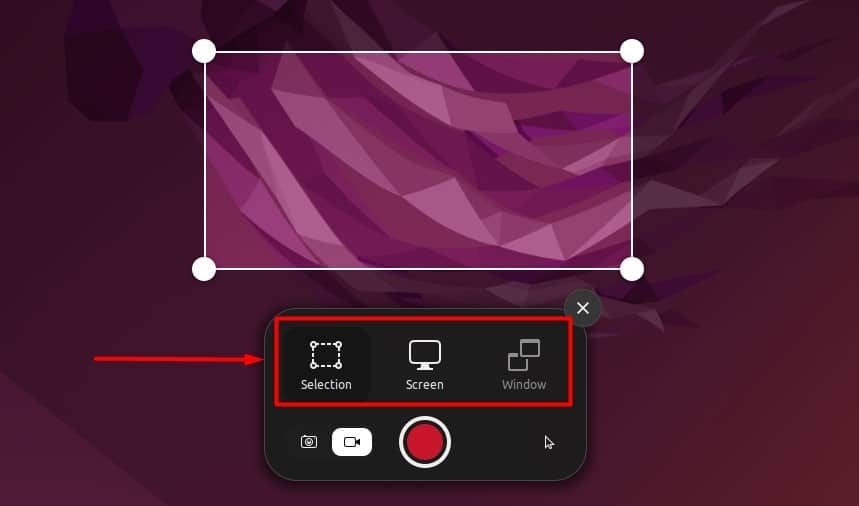
One of the most usable features of this recorder is that you can select the screen size: full screen, windowed, or custom selection. This helps you record only the part you want to record instead of recording the whole screen and post-processing it in video editors.
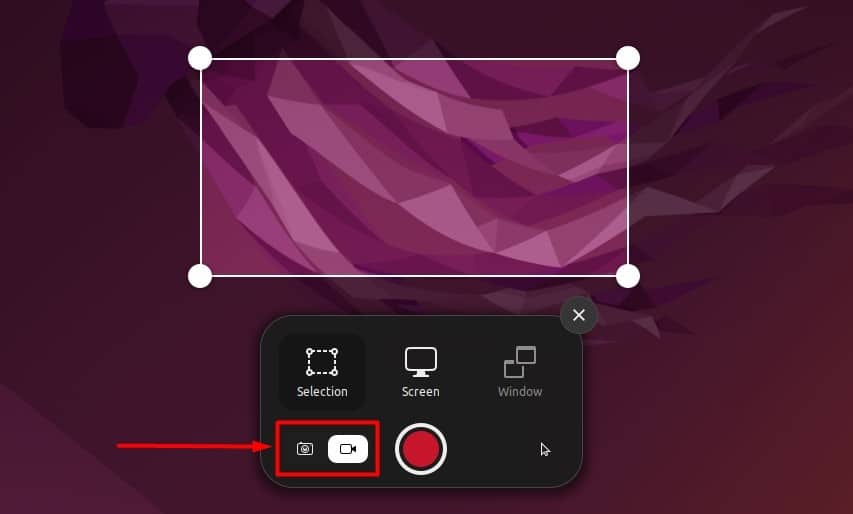
The built-in screen recorder comes with two different options for recording, screenshots and screen recording. You can simply toggle between both and press the recording button to start the recording.
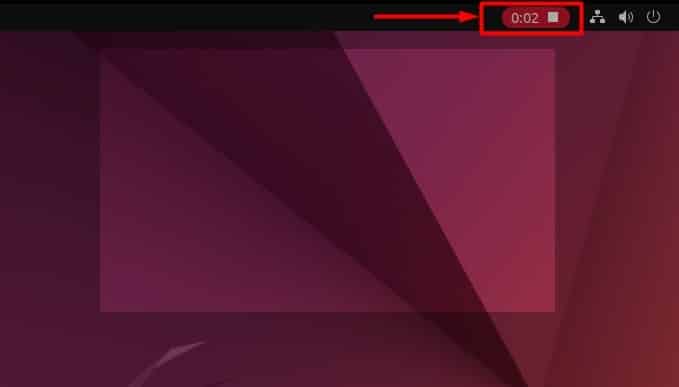
As soon as you click the recording button, your screen will start recording, and you can see your recording timer at the top right corner, right next to your network, sound, and power buttons. You can stop the recording by clicking the square button next to the recording timer, and your recording will be saved in the default recording folder.
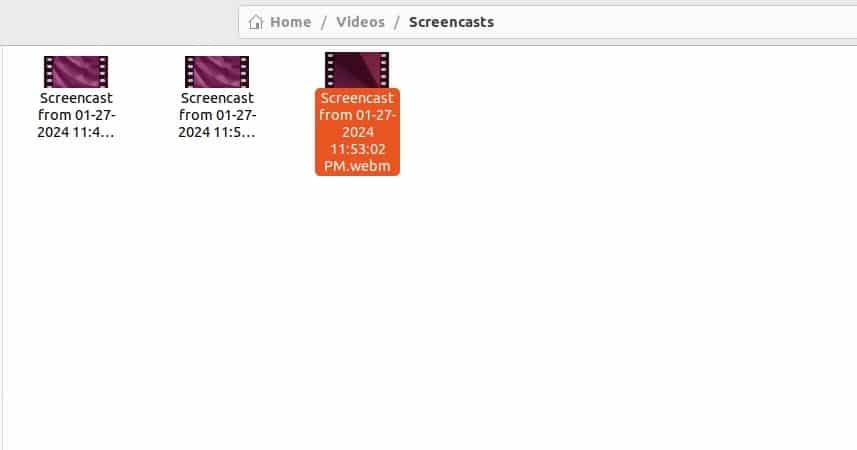
You can find your saved recordings folder in the default Ubuntu Videos folder. The path to the recordings folder is Home/Videos/Screencasts.
The downside of using the default app is that it doesn’t support audio input from an internal or external microphone and it doesn’t have support for different video formats. The only format available is WEBM format, and all your videos will be saved in it.
Method 2: Screen Recording in Ubuntu Using SimpleScreenRecorder
If you are looking for more advanced software than the default screen recorder. The best suggestion is to use a SimpleScreenRecorder. It comes with all the advanced features like audio recording, custom frame rate, custom bitrate, custom area, and more.
SimpleScreenRecorder is easy to use, and it supports a wide range of media formats. This recorder’s only known problem is using it on a display server known as Wayland. Other than that, it works perfectly fine with X11 or Xorg servers.
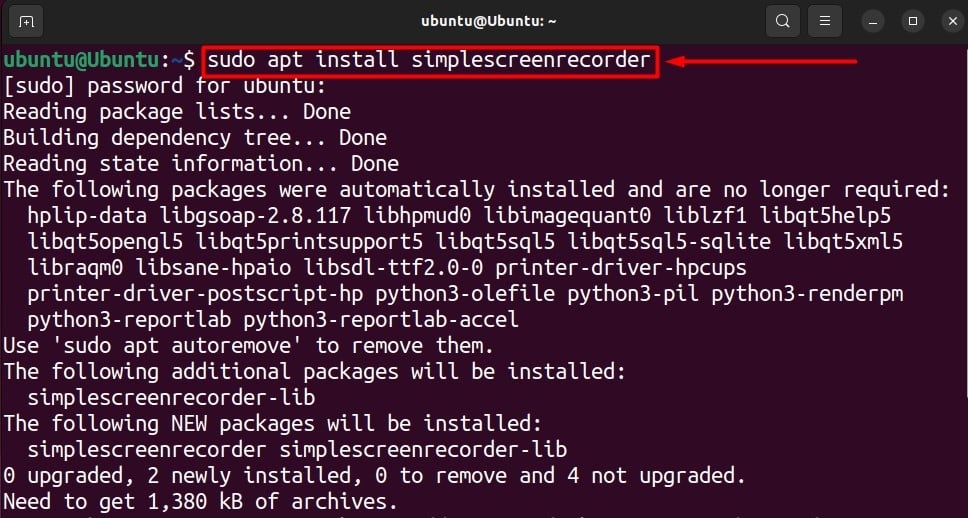
Let’s start by installing the SimpleScreenRecorder on your Ubuntu machine. To do that, open your terminal windows by pressing Ctrl+Alt+T and run the following command:
sudo apt install simplescreenrecorder
Enter your password, write “Y,” and press enter to accept and continue with the installation.
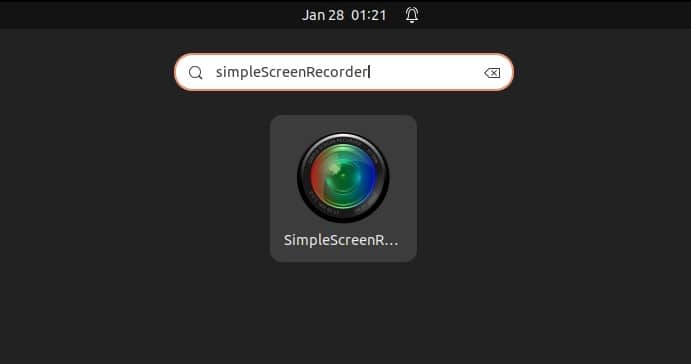
After the installation, search for the SimpleScreenRecorder and launch the application.
On the first launch, you will see a welcome screen where you have to click Continue to get onto the configuration page. You can also check the mark “skip this page next time” to avoid the welcome page in the future.
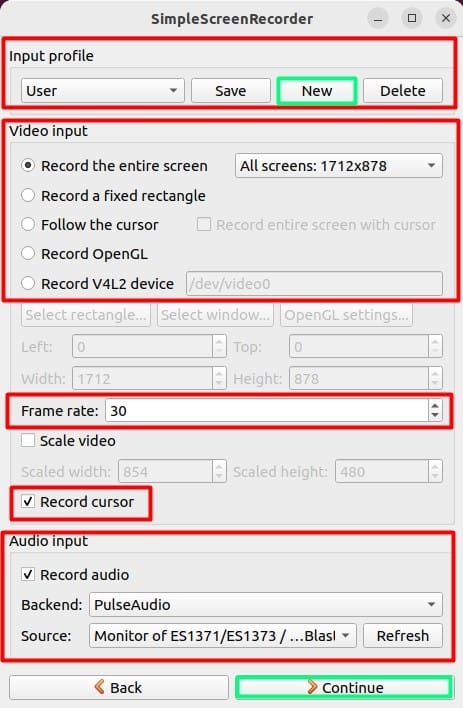
You can make a new Input profile on the next screen by clicking new at the top. Next, you must configure the recording parameters, such as video input screen size, recording frame rate, cursor recording, and audio input source. After configuring these, click Continue.
The next step is to set up your output profile. You can make a custom profile or select one from the drop-down menu by clicking (none). You can select a new file-saving location by clicking Browse or keeping the settings to the default saving location. Select the saving format from your videos and click Continue.
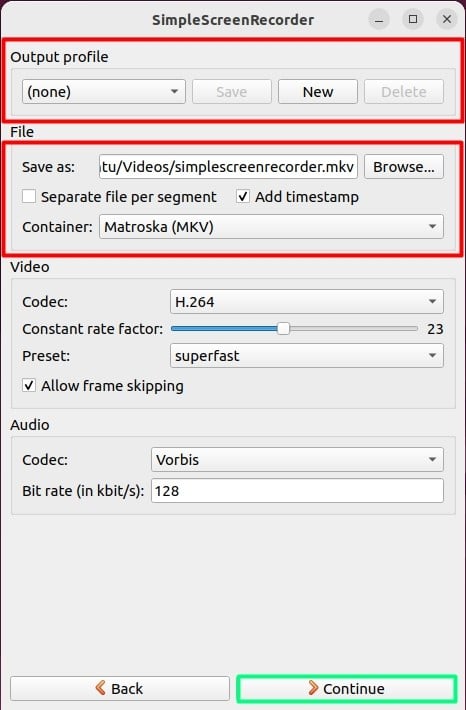
Note: You can customize other settings as well. However, the advance is recommended only if you are familiar with codecs and formats.
After continuing, you can now start recording your screen by clicking the “Start Recording” button at the top. You can also cancel the recording and save it by clicking the buttons at the bottom.
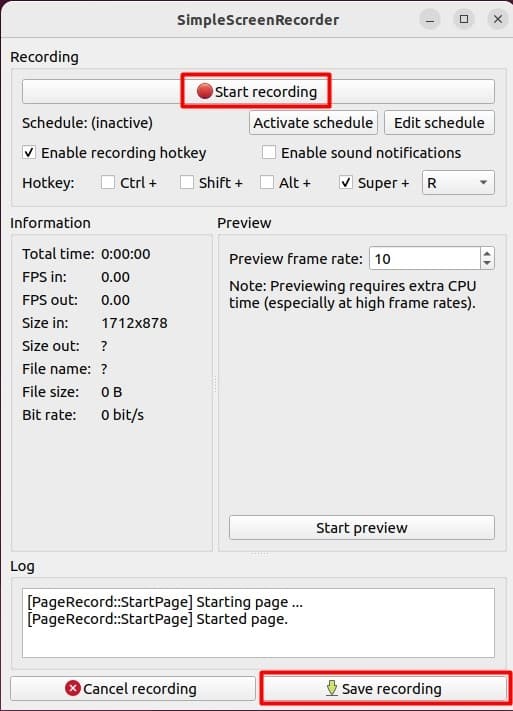
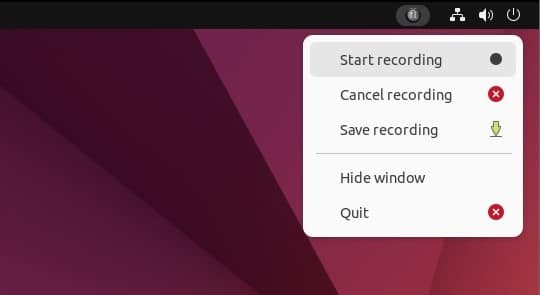
By default, the recording will be stored in the “Home/Videos” folder. You can also start, stop, save, and cancel the recording from the activities bar at the top right corner.
The only downside of SimpleScreenRecorder is that it doesn’t support non-X11 systems, and many of its features are also unavailable for non-X11 users.
Affordable VPS Hosting With Dracula Servers
Looking for reliable and budget-friendly Virtual Private Server (VPS) hosting? Look no further than Dracula Servers. Dracula Servers offers a range of VPS hosting plans tailored to meet diverse needs. With competitive pricing, robust performance, and a user-friendly interface, it’s an excellent choice for individuals and businesses alike.
Explore the Dracula Servers website to discover hosting solutions that align with your requirements and take your online presence to new heights with their affordable and efficient VPS hosting services.
Visit Dracula Servers and experience reliable VPS hosting without breaking the bank.
Method 3: Screen Recording by Using OBS Studio
OBS Studio is one of the top-reviewed and advanced screen recording software. It is a perfect solution for professionals and is recommended for advanced users. It supports features like a webcam and also has complete support for Wayland systems. If you are up for a live stream and want to interact with your audience while sharing your screen, OBS Studio is the best choice for you.
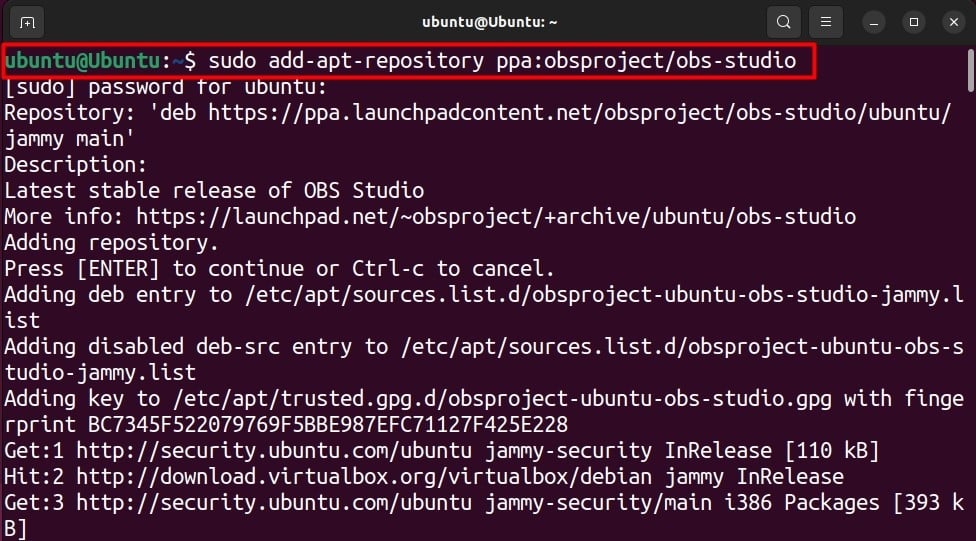
To setup the OBS studio on your Ubuntu machine, open the terminal window and run the following commands:
sudo add-apt-repository ppa:obsproject/obs-studio
sudo apt update
sudo apt install obs-studio
After running the first command, the system will ask you to press enter to continue to create the repository. Press “Enter”.After that, update the repositories by using the second command, and lastly, use the last command to install the OBS Studio. The system will ask you to write “Y” to continue the installation.
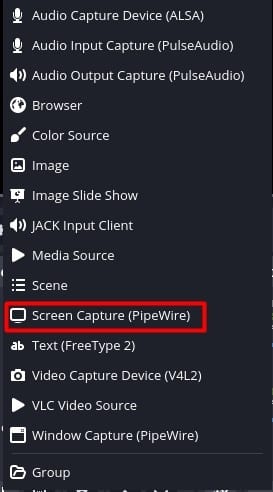
After the installation, launch the OBS Studio and start optimizing it for recording. Cancel the auto-configuration wizard, as it will set OBS for streaming. Now click on Sources and add a new source.

Select “Screen Capture (PipeWire)” as your source and select “ok.”:
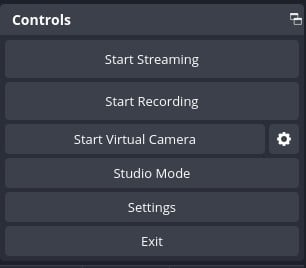
Now you have set up your OBS studio, and you can see your screen in the center display. The controls to record are available at the bottom right corner of your screen, and you can also access them from activities by clicking the OBS Studio Logo at the top right corner of your screen.
Conclusion
Among these solutions, the easiest and simplest method is the Built-in screen recorder of Ubuntu, which requires no extra steps to install or configure. It’s easy to use, and it works best for simple screen recording.
However, if you are looking for a more dedicated screen recording with many more features and options to choose from, then you can go for the “SimplescreenRecorder.” However, its lack of support for Wayland systems makes it less desirable for use.
Lastly, the most advanced and best professional software, OBS Studio, will require a certain level of knowledge and skill to use, but it will produce the best results.
Check out More Linux Tutorials Here!
Subscribe
Login
0 Comments
Oldest