![]()
How to Solve Permission Denied Error – Linux
When working with a Linux-based operating system, the user can often encounter the error “permission denied” while trying to perform certain actions. There are multiple actions that can prompt this error, like accessing certain directories or moving files from one location to another.
Sometimes, trying to install or uninstall packages can also result in the permission denied error in Linux. However, this guide will explain the error in detail, along with all its possible solutions individually.
Table of Contents
What is the Permission Denied Error?
Every file and folder inside the Linux File System has a “permission” given to each user using that Linux machine. These permissions determine whether that user can have access to the file or not.
There are three different permissions that can be given to each file in the Linux File System, which are as follows:
- “Read,” represented by “r,” means that the file can only be read, and no changes can be made to the file or directory.
- “Write,” represented by “w,” which means that changes can be made and saved to the file.
- “Executable,” which is represented by “x,” means that the file can be executed. This permission is crucial for scripts, programs, and applications.
These permissions of files are granted to three different categories of users, determining the actions they can perform on the file. These three categories are as follows:
- Owner: The user that created the file or owns the file on that Linux File System
- Group: Defines the group of users other than the owner itself
- Others: The users who are not the file owner and are also not in the group.
The Permission Denied Error occurs when a user on the Linux Machine tries to perform an action on a file that it does not have the authority to. For example, if the user has been given only read access to a file and tries to make certain changes, the user will get the “Permission Denied” error.
Similarly, if the user has no authority over a file and tries to move it from one location to another, he will encounter the permission denied error.
How to Solve Permission-Denied Errors in Linux?
Various methods and approaches exist to solve the permission-denial error in the Linux File System. Let’s go over all of them one by one.
Use Root Privileges to Resolve Permission Denied Error
If you are the System Administrator of the Linux Machine, you have the root access. Being the administrator gives you the highest level of permission, allowing you to execute your commands without any checks.
This can be done by using the “sudo” keyword at the start of the command you are trying to execute or by changing the User to root.
Let’s take an example where you are trying to make changes to the host file located in the path “/etc/hosts.” To open the “hosts” file, you can use the following command:
nano /etc/hosts
However, the nano editor will show that the file is not writable, as only the root user has the authority to make changes to this file:
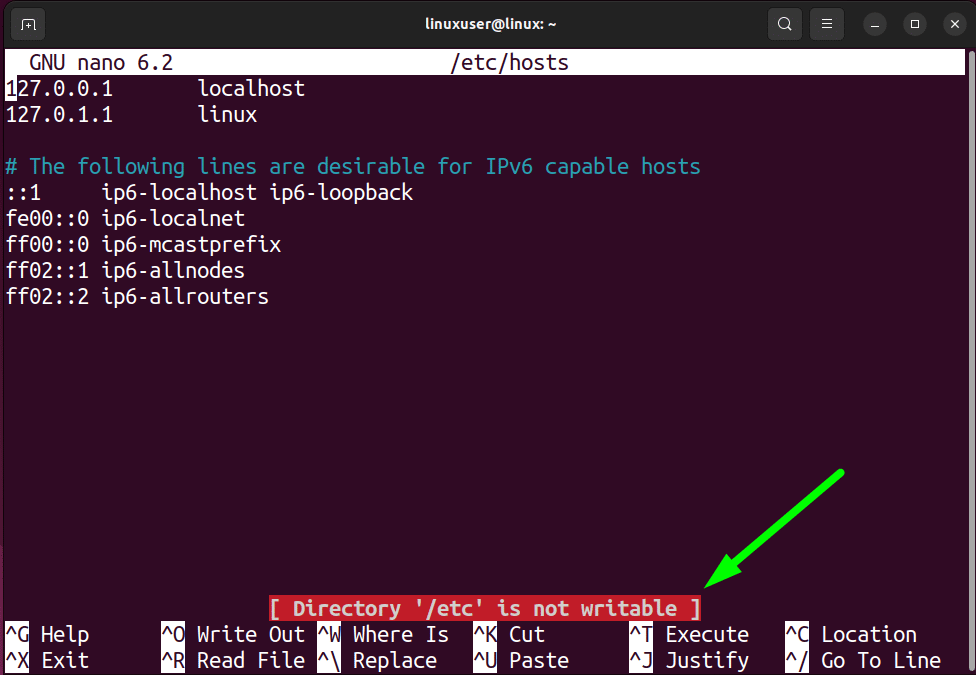
Making modifications and trying to save the changes to this “hosts” file will result in the permission denied error. You also don’t want to give others access to the host file. Therefore, simply add the “sudo” keyword at the beginning of the command and provide the root password to access the file as the root user.
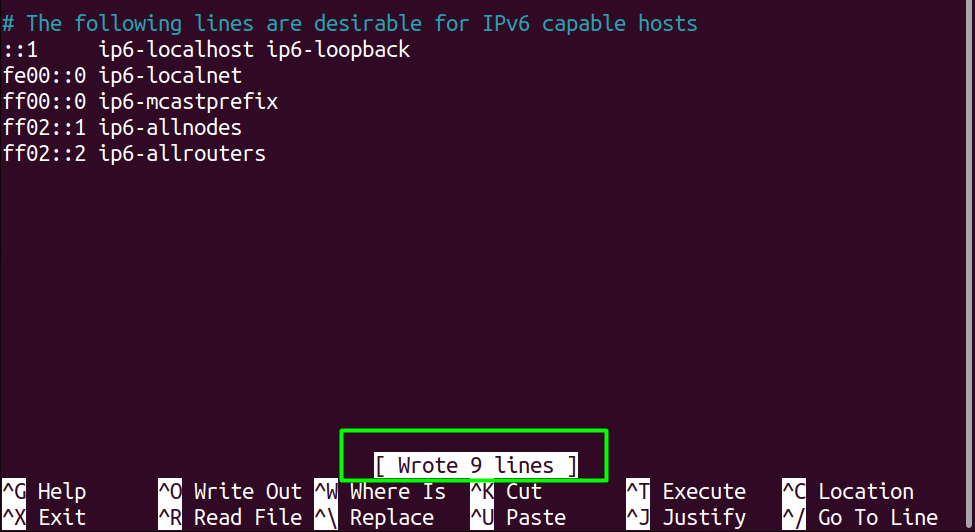
sudo nano /etc/hosts

This time around, the nano editor will not show any warning messages, and no error will be returned when changes are made and saved to the file:
Use the Super Shell to Resolve the Permission Denied Error
Another way of executing your commands as the root user without giving privileges to other users is to use the super shell. The super shell will execute each command on your Linux Machine with the utmost authority. This is extremely helpful when, as the Admin of the System, you don’t want to type sudo before every single command.
To do this, open up a new terminal session on your Linux-based machine and then type the following command:
sudo -i
After executing the command, the terminal will prompt you to type in the password for the root user:

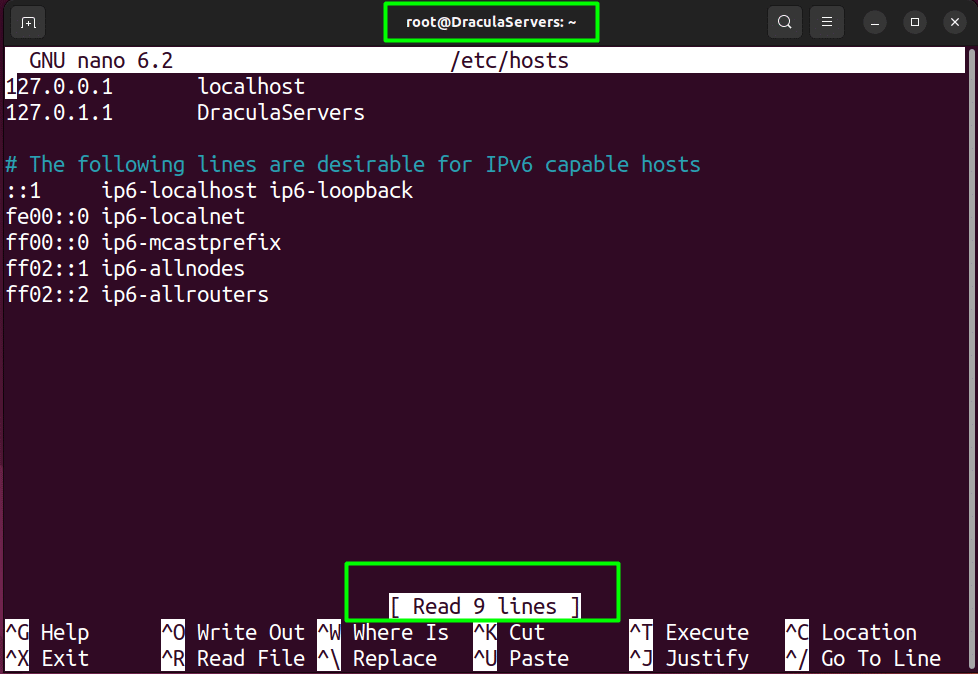
Once you have provided the password, you will see that the user name on the terminal changes to “root,” indicating that the commands will now be executed as the root user:

Continuing from the example of editing the “hosts” file, you can open the file using the “nano” command without typing the sudo keyword. Therefore, execute the command “nano /etc/hosts/” and observe that no warning is displayed:
Note: Running Commands with root privileges ensures that no permission checks are performed. However, if you are careless while performing actions, you may damage your Linux System or delete some important System Files. Therefore, always proceed with caution when working with admin rights.
Provide Correct Permissions for the File
If you are not working with system files and a non-admin user encounters the permission denied error while working with a specific file. Then, in that case, you need to change the permissions of the file.
Suppose that you are trying to access a file named “DemoFile,” which only has read-write permission given to it for the “owner.” To ensure this, go inside the directory of the file and execute the following command to list out its permissions on the terminal:
ls -al
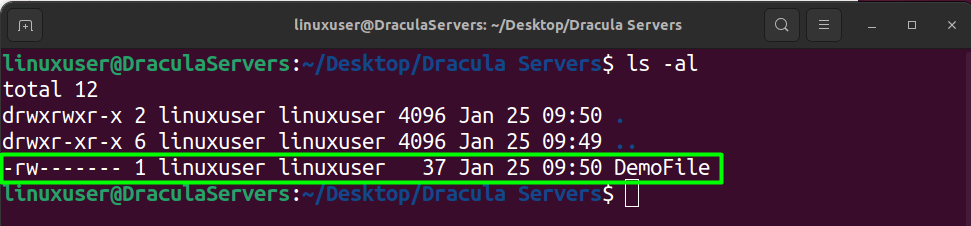
As you can see, in the left column, the first three letters after the initial dash represent permission for the “owner” are “w” and “r.” To grant read-write access to every user to this file, you can execute the following command:
chmod +r DemoFile
Once that is done, you can re-run the “ls -al” command to view the file permissions again:
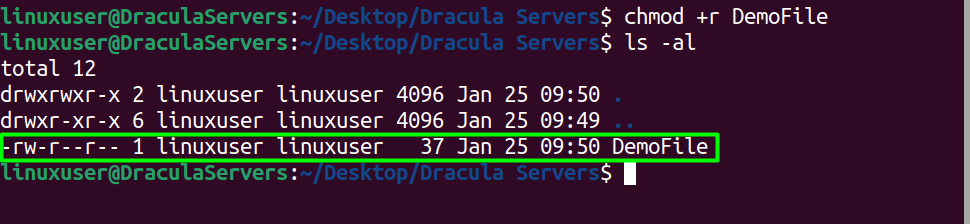
This time, you can see that the letter “r” has also been added for groups and others. This means that there will be no “permission denied” error this time when another user tries to read this file.
Alternatively, to give writable permissions, you will have to run the following command:
chmod +w DemoFile
Change the Ownership of the File
If you want to give access to a file only to a specific user, then the best approach is to change the ownership of that file to the specified user. To do this, open the directory of the file and use the following command template.
sudo chown <userName> <fileName>
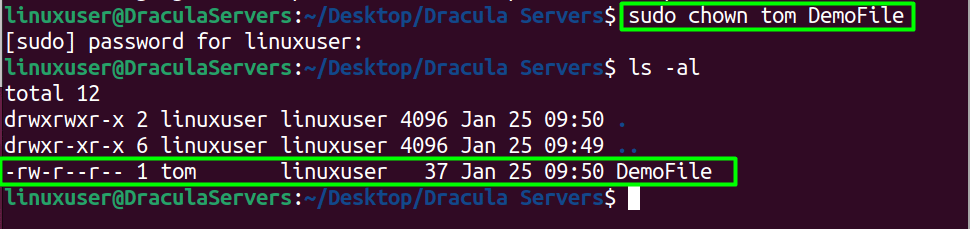
Continuing from the previous example, to change the ownership of the file “DemoFile” to the user “tom,” you will execute the following command:
sudo chown tom DemoFile
To confirm this, run the “ls -al” command in the same directory:
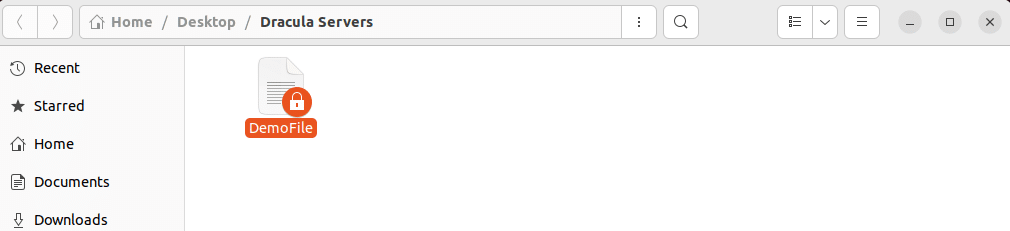
If any other user tries to access the file, even from the file explorer, it will show a “locked” icon on it:
There you have it, the solution to resolving the permission denied error in Linux.
Dedicated Virtualization Server with KVM Technology
Enhance your Linux experience with Dracula Servers’ Dedicated Servers, offering a powerhouse of resources for those who demand top-notch performance and control. What sets Dracula Servers apart is the implementation of KVM (Kernel-based Virtual Machine) – True Emulation Virtualization Technology. This cutting-edge technology ensures a secure, isolated, and efficient virtualization environment for your Linux projects. With KVM, you get true hardware-level virtualization, allowing you to run a wide range of Linux distributions without compromise. Dive into the world of dedicated servers backed by KVM technology and experience unparalleled flexibility and reliability for your Linux endeavors.
Explore the benefits of Dracula Servers’ Dedicated Servers for Linux at Dracula Servers KVM VPS.
Scenarios to Encounter the Permission Denied Error
As mentioned above, there are multiple scenarios in which a user can encounter the permission denied error while working on Linux. Some of the common scenarios are as follows:
- File or Directory Ownership Change: When you’re trying to access or modify a file or directory not owned by your user, you might face permission issues.
- Insufficient Permissions: If your user lacks the necessary permissions to read, write, or execute a file, the system will throw a permission denied error.
- Restricted System Directories: Attempting to change critical system directories without superuser privileges can trigger a permission-denied response.
- Executing Programs without Permission: Running a script or program without the appropriate execution permissions can result in the permission denied error.
- Incomplete Path Permissions: If any part of the directory path leading to your file lacks the necessary permissions, accessing the file becomes restricted.
- Locked Configuration Files: Modifying crucial system configuration files without proper permissions often leads to permission-denied hurdles.
- File in Use by Another Process: Trying to alter a file currently used by another process might prompt a permission-denied response.
- Limited User Access: Some directories or files might be restricted to specific user groups. Attempting access without belonging to the designated group triggers permission issues.
- Network Share Permissions: When dealing with network shares, accessing files without the right permissions from the server can result in permission-denied errors.
- Encrypted or Compressed Files: Accessing encrypted or compressed files without proper decryption or decompression permissions can lead to permission denials.
Understanding these scenarios will help you to troubleshoot and resolve permission-denied errors effectively and easily.
Wrap Up
The permission denied error occurs when a user tries to perform an action that it isn’t allowed to due to insufficient authority over the file of the Linux File System (also Ubuntu). Similarly, when a user tries to execute a command to modify system files, he is met with the permission denied error.
To deal with this error, the System Administrator will have to provide appropriate file permissions and ownership to the user to perform that action. As for executing commands that change the system’s behavior, the admin must use the “sudo” command or the root shell and provide the sudo password to run the commands with “admin” privileges.
However, changing the permissions or ownership of files and executing commands with root privileges should be handled cautiously, as it can damage your system if you are not careful.
Check out More Linux Tutorials Here!
Subscribe
Login
0 Comments
Oldest