![]()
How to Install MongoDB on Ubuntu 22?
MongoDB is a document-based database commonly used by developers, managers, and Linux system administrators. However, installing MongoDB in Ubuntu is relatively easy, but people are often met with errors and a lot of confusion. If you are looking for a reliable step-by-step procedure to install MongoDB in your Ubuntu installation, this article covers you.
There is a MongoDB default repository added to the Ubuntu installation (old installations.). However, the version of MongoDB in the default repo is not the latest one. Therefore, installing that does not benefit a lot of people. That is why this post will explain the method of installing MongoDB from an external source.
Let’s get started.
Installing MongoDB in Ubuntu 22.04
In this method, you will manually add the MongoDB Repo to your Ubuntu installation and then install it. To follow along with this method, start by first updating your system and apt packages list by running the following commands in the terminal:
sudo apt update
sudo apt upgrade
Once that is done, install all the dependencies for installing MongoDB by running the following command:
sudo apt-get install wget curl gnupg2 software-properties-common apt-transport-https ca-certificates lsb-release
After that, the terminal will ask you to provide the password for the sudo user. Therefore, type that in:

Once that is done, the next step is to add the GPG key for MongoDB using the following command:
curl -fsSL https://www.mongodb.org/static/pgp/server-6.0.asc|sudo gpg --dearmor -o /etc/apt/trusted.gpg.d/mongodb-6.gpg
After the public GPG key has been added to your Ubuntu, the next step is to add the MongoDB repo to your system using the GPG key. For that, run the following command in the terminal:
echo "deb [ arch=amd64,arm64 ] https://repo.mongodb.org/apt/ubuntu $(lsb_release -cs)/mongodb-org/6.0 multiverse" | sudo tee /etc/apt/sources.list.d/mongodb-org-6.0.list
Note: If you get an error running the above command, then simply add sudo at the start of the command and try again.
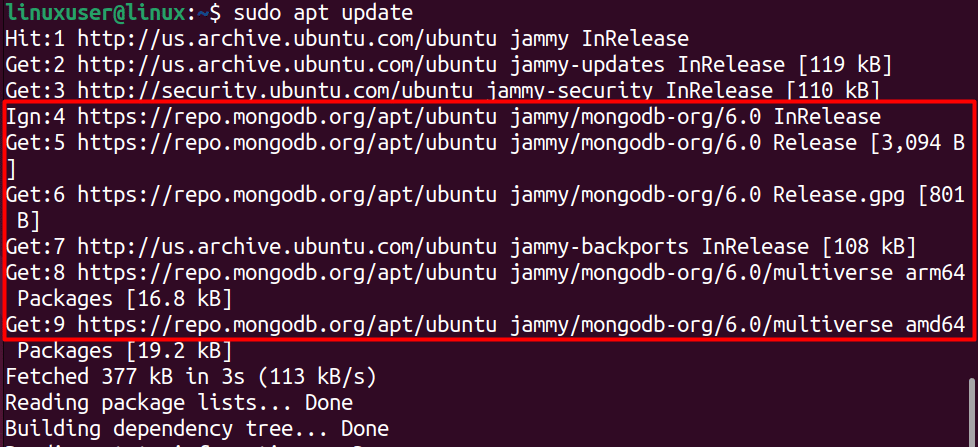
Once the repo has been added to your Ubuntu. The next step is to update the apt packages list using the following command:
sudo apt update
After the apt list has been successfully updated, you will see that the MongoDB repo is displayed in the terminal:
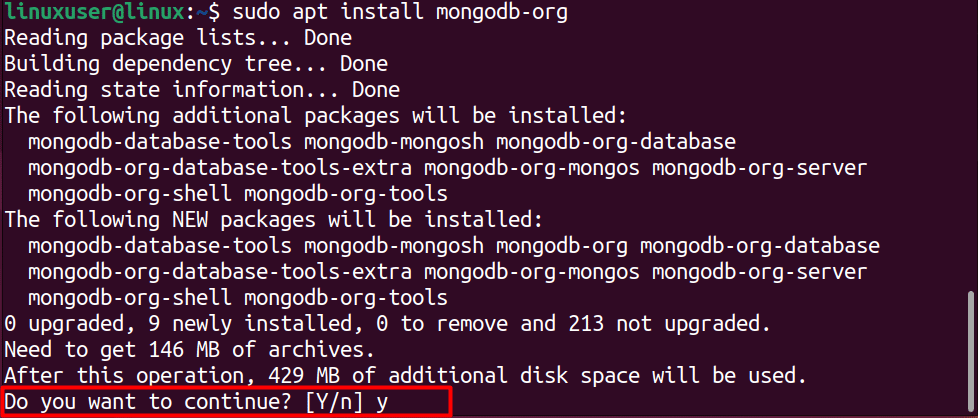
The next step is to simply run the following install command in the terminal:
sudo apt install mongodb-org
When prompted about the confirmation, simply type “y” and press enter:
After that, simply wait for the installation process to fully complete. Once it’s done, you can check the status of the MongoDB service by running the following command:
sudo systemctl status mongod
You will get the following output on the terminal window:

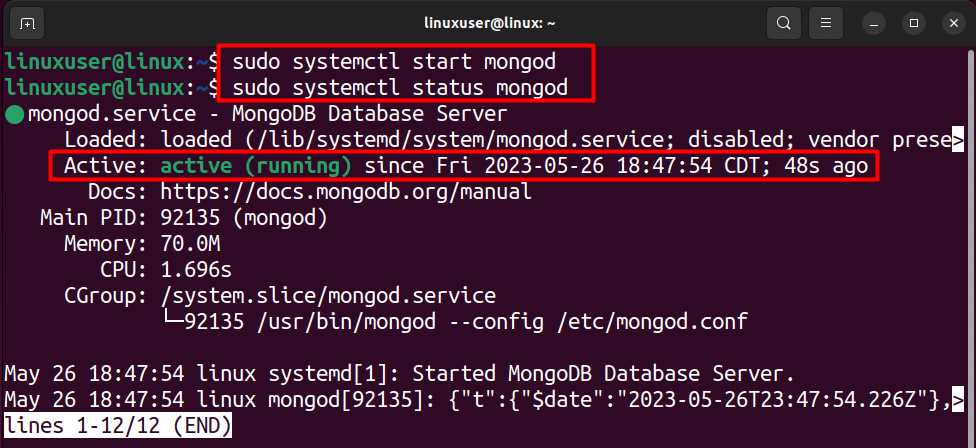
As you can see, the MongoDB Database Server is currently in an inactive state. To run it, simply type the following command in the terminal:
sudo systemctl start mongod
And then recheck the status using the status command:
sudo systemctl status mongod
This time around, you will get the following output on the terminal window:
Incase you want the MongoDB service to autorun at the boot time, then run the following command:
sudo systemctl enable mongod
Lastly, check the version command to verify the correct installation of MongoDB:
mongod --version
This will return the following output on the terminal:
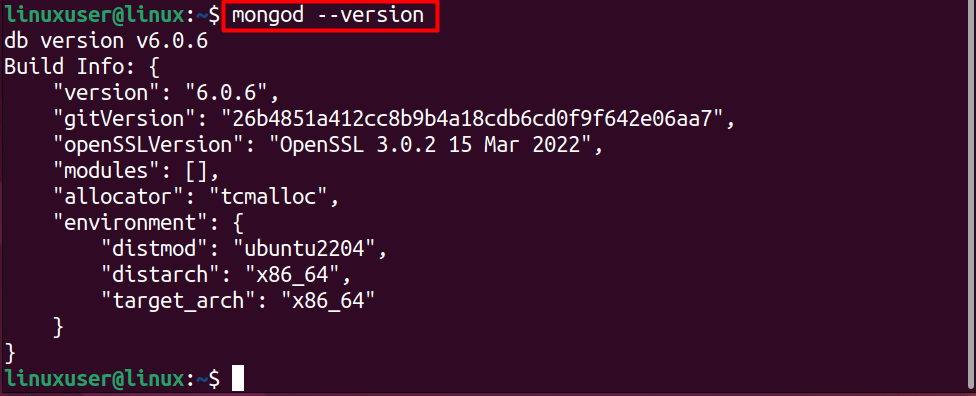
The output shows that you are running MongoDB version 6.0.6.
Looking for Affordable VPS Hosting Without Compromise? Check out Dracula Servers!
Using MongoDB
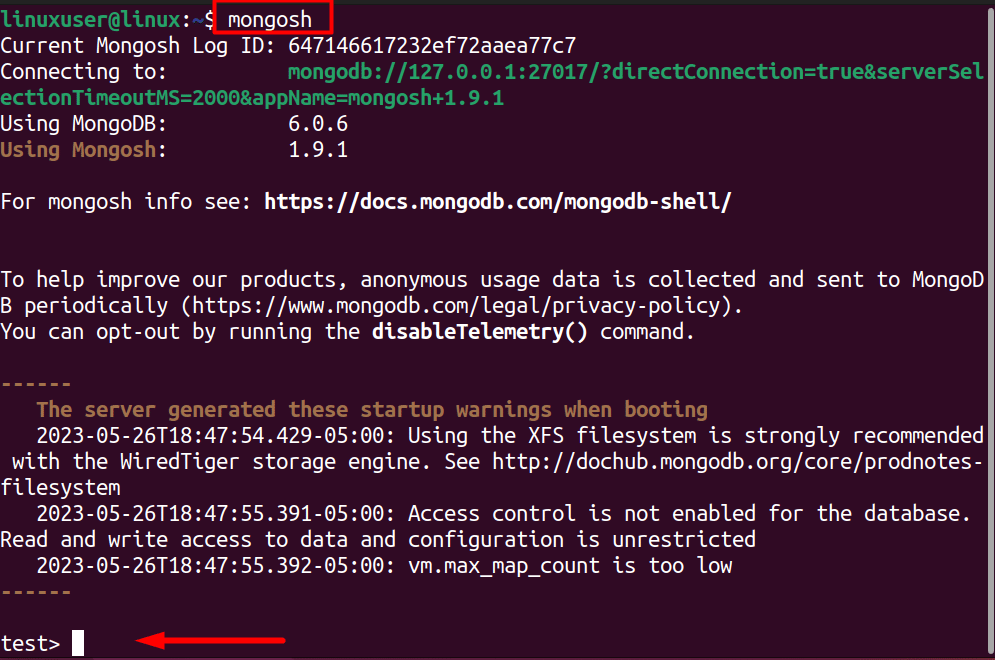
To use the MongoDB after successful installation, you need to enter the MongoDB Shell using the following command:
mongosh
This will show you the following output on the terminal:
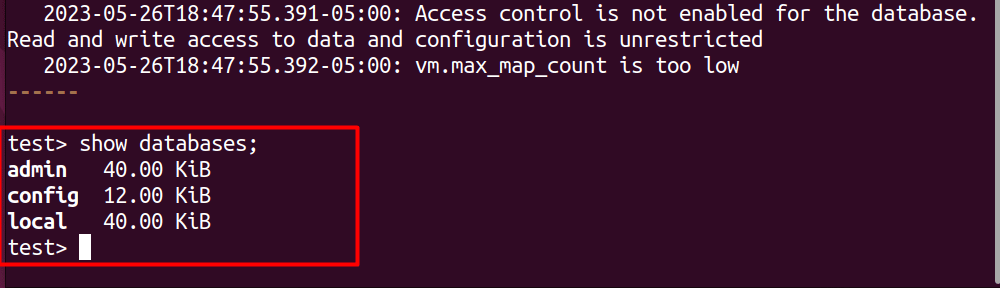
To show all the available databases, simply run the following command:
show databases;
This will generate the following output:
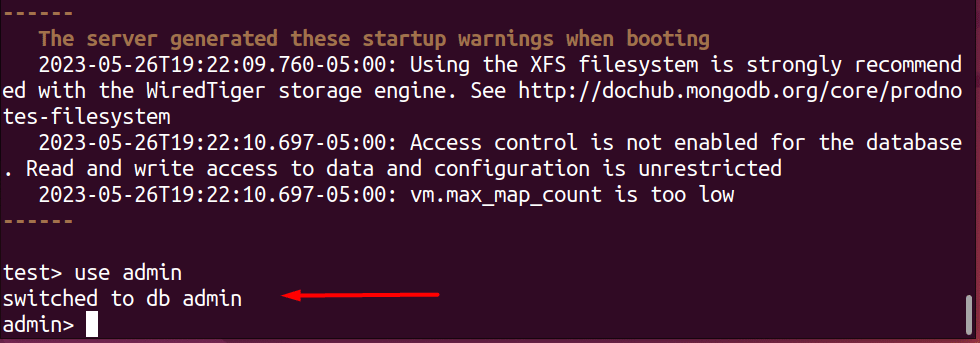
If you want to switch to a specific database or create a new database, then simply use the “use” command. For example, let’s use the admin database by running the following command in the Mongo Shell:
use admin
This will change the name in the shell, showing that the user is now using the “admin” database:
To exit from the MongoDB Shell, either press “CTRL + C” twice or type the following command in the shell:
exit;
Enabling MongoDB Authentication
Another thing that you can do after the successful installation of MongoDB on Ubuntu is to enable MongoDB Authentication. To do this, you need to open the mongod.service file and make the required changes in it.
To open up the mongod.service, use the following command:
sudo nano /lib/systemd/system/mongod.service
You will have the following output in the terminal window:
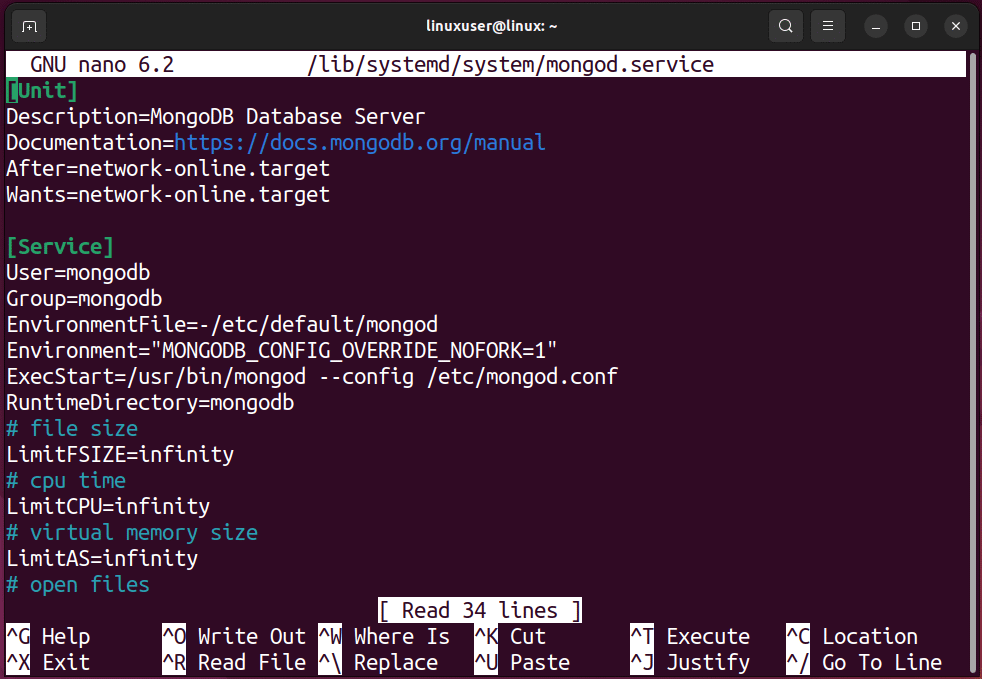
Within this file, you need to add the following line:
ExecStart=/usr/bin/mongod --quiet --auth --config /etc/mongod.conf
After that is done, press “CTRL + O” and “CTRL + X” to save and exit the file. The next time you open up a database that is password protected, you will have to use the following syntax:
mongosh -u demo -p --authenticationDatabase admin
Replace the “demo” and “Admin” with the required database name and the user name. And that brings us to the end of this tutorial.
Dracula VPS Hosting Service
Dracula Servers offers high-performance server hosting at entry-level prices. The plans include Linux VPS, Sneaker Servers, Dedicated Servers & turnkey solutions. If you’re looking for quality self-managed servers with high amounts of RAM and storage, look no further.
Check the plans for yourself by clicking Here!
Wrap up
MongoDB is quite often used by system admins, developers, and in web applications. And this popularity is all due to the document database design. To use MongoDB in Ubuntu, there used to be a repo in the default APT packages. However, that version used to be outdated, and now it has been removed from the default apt packages.
Therefore, to install MongoDB in your Ubuntu, you need to add the public GPG key and use it to add the repo of MongoDB in the apt packages list. From there, you can easily install MongoDB by using the “install” command. After the installation is done, make sure to enable and start the mongod service. Finally, to use MongoDB, use MongoShell by typing the command “mongosh”.
Subscribe
Login
0 Comments
Oldest