![]()
How do I Install & Uninstall MySQL in Linux?
MySQL is one of the most famous relational database management systems in the current market. The capabilities of this RDBMS are not only amazing but also quite user-friendly. Many people prefer MySQL over other alternatives available in the market. Often, installing MySQL and removing it from a Linux-based operating system can be quite daunting for new beginners. If that is the case, then this post will be your friend and guide you through the process.
Let’s Begin.
Prerequisite
MySQL is often installed as a requirement with other applications and services that the user installs on a Linux operating system. You may already have MySQL installed on your machine. To check this, type the following command in the terminal:
mysql --version
If MySQL is not installed on your machine, follow the rest of the guide.
How to Install MySQL in Linux?
The first step for installing MySQL on your Linux machine is to update the packages list according to your distribution of Linux. If you are running the Ubuntu operating system, then the “apt” packages list can be updated using the following command in the terminal:
sudo apt update
Once that is done, upgrading the packages to their newest version is also a good practice. For that, you can use the following command:
sudo apt upgrade -y
Once that is done, install MySQL Server using the following command:
sudo apt install mysql-server
sudo yum install mysql
When you execute the command, it will ask you for the root user’s password. Therefore, provide the password and hit the enter key:

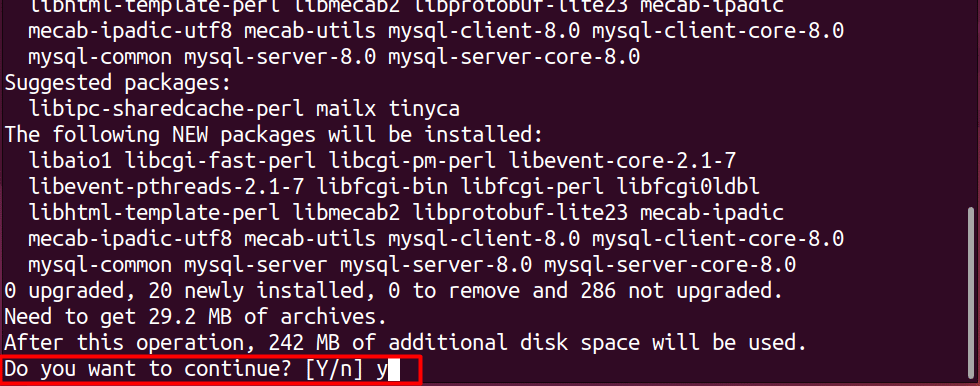
When you are prompted about the confirmation for download, type “Y” and then press the enter key again:
After that, wait for the download and installation process to complete. And once it is done, you can verify its installation by checking its version using the following command:
mysql --version

As you can see in the output images above, MySQL Server version 8 has been installed on your Linux Distribution. However, this doesn’t mean that MySQL service is running. To check that, run the following command in the terminal:
sudo systemctl status mysql
Running the command should give the following output:
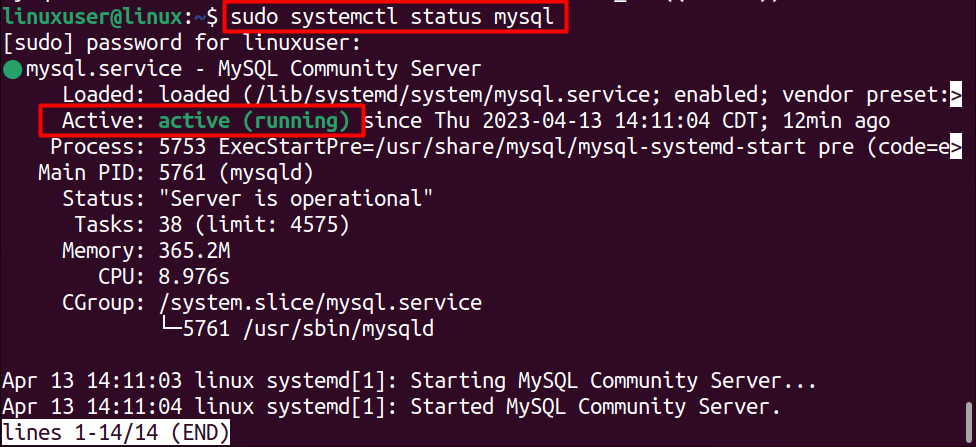
This means that the MySQL services are running. In case the output returns as “Inactive,” then you will have the run the following command:
sudo systemctl start mysql
Also, to make the MySQL service start at the time of OS boot, run the following command:
sudo systemctl enable mysql
Running this command will showcase the following result on the terminal:

Now your MySQL server is all set up, and you can start using MySQL using the “sudo mysql” command. However, it is a better option to secure your MySQL installation.
Running MySQL Secure Installation Wizard
To secure the MySQL server deployment with custom configurations, you can run the “secure installation wizard.” But before that, open up the MySQL shell using the following command:
sudo mysql
And once you are inside the shell, run the following command:
ALTER USER 'root'@'localhost' IDENTIFIED WITH mysql_native_password BY 'SetRootPasswordHere';
Make sure to change the password field and then exit from the MySQL shell
exit;
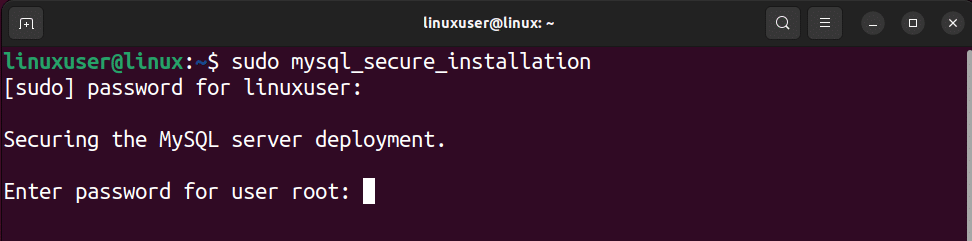
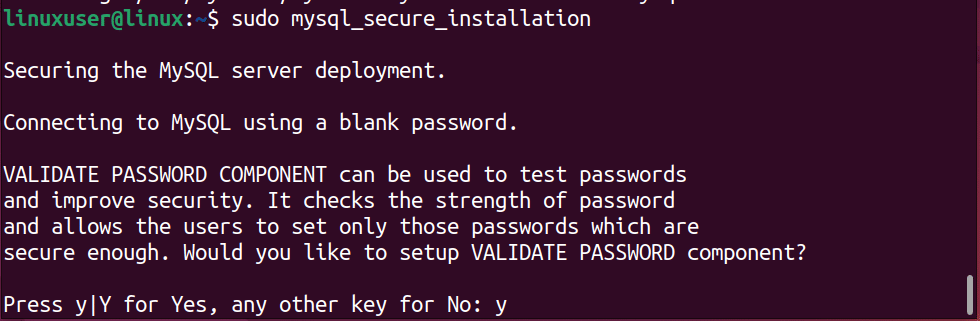
This will prevent the MySQL installation from running into any errors. Now, open up the secure installation using the following command:
sudo mysql_secure_installation
And then, enter the password for the root user that you have set up in the previous command:
It will first ask the “Validate Password Component,” which checks for strong passwords. You can choose your option, but for this post, we are going with “yes”:
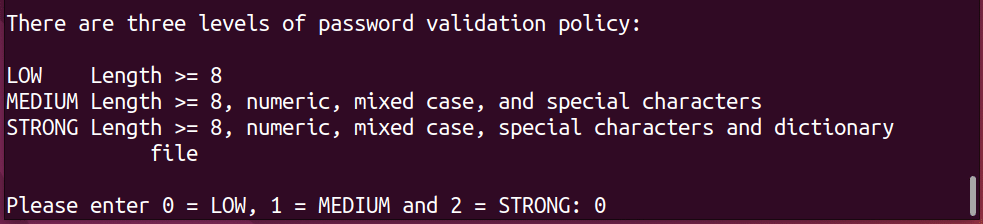
After that, choose the level for the Password validation policy according to your choice:
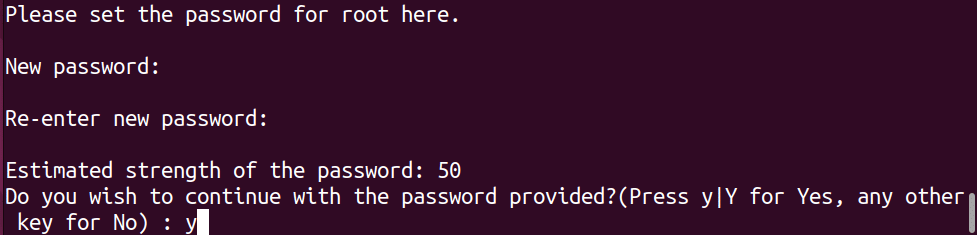
After that, the setup will ask for the root password for MySQL according to the password policy you just chose. Therefore, provide a password and reconfirm it, and type “Y” to confirm it:
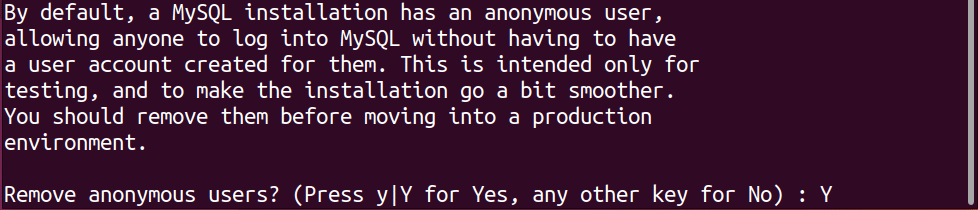
After that, it will ask you about removing the anonymous users:
And then, it will ask about disallowing remote login:

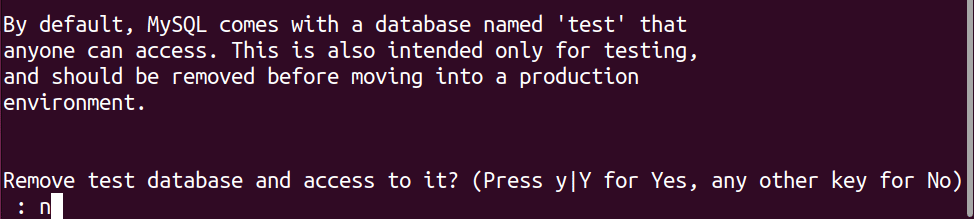
After that, it will ask you if you want to remove the default test database:
Once that is done, it will ask you if you want to reload the table privileges:

Once that is done, it will show you a success message that everything has been completed successfully:

Like what you see so far? Check out our other blogs for Linux!
Using MySQL After Installation
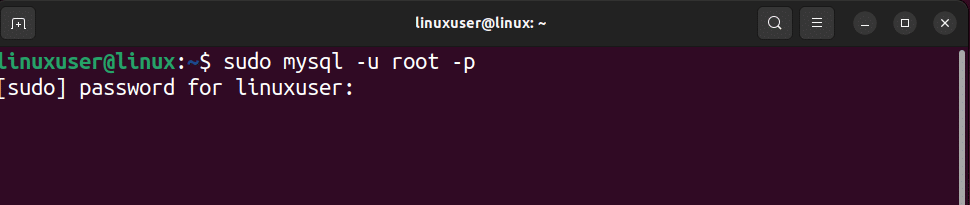
After the secure installation, you can access the MySQL shell with the root user using the following commands:
sudo mysql -u root -p
It will ask you about the root password. Provide that and hit the enter key again:
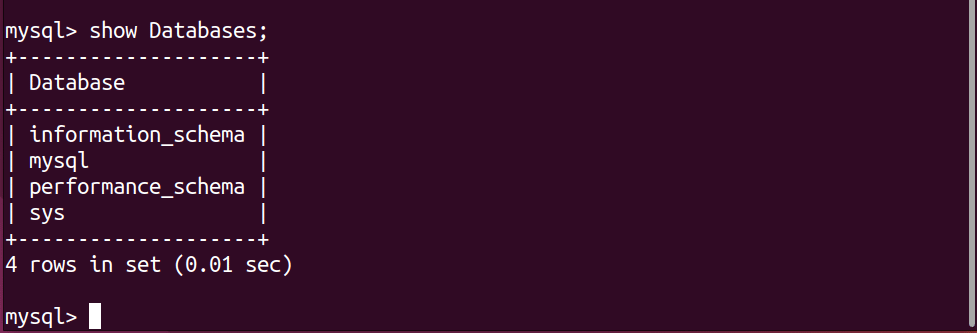
Doing that will take you inside the MySQL shell, where you can run the following command to test that everything is working fine:
show Databases;
Which will return the following output:
Congratulations! Now you can freely use your secure MySQL on Linux.
How to Remove/Uninstall MySQL in Linux?
If you are not using MySQL and it is sitting idle on your Linux machine, it is better to remove it to save memory and space. To remove the MySQL Server from your Linux Distribution, you can follow the steps below:
Step 1: Stop MySQL Service
Start by stopping the MySQL service using the following command:
sudo systemctl stop mysql
This will ensure that no error occurs during the uninstallation process of MySQL.
Step 2: Remove MySQL Installation
To remove MySQL in Ubuntu, run the following command:
sudo apt remove mysql-server mysql-client

sudo apt autoremove

sudo apt autoclean
For CentOS or RHEL, run the following command:
sudo yum remove mysql-client mysql-server
For Fedora, run the following command:
sudo dnf remove mysql-client mysql-server
Step 3: Remove MySQL Configuration Files
Last, you want to delete the configuration files of MySQL using the following commands:
sudo rm -rf /etc/mysql

sudo rm -rf /var/lib/mysql
Step 4: Verify the Uninstallation
Once you have removed the installation of MySQL or MySQL Server, you can verify it by running the following command:
mysql --version
This will return an error that the command “mysql” was not found. That also sums up this post.
Dracula VPS Hosting Service
Dracula Servers offers high-performance server hosting at entry-level prices. The plans include Linux VPS, Sneaker Servers, Dedicated Servers & turnkey solutions. If you’re looking for quality self-managed servers with high amounts of RAM and storage, look no further.
Check the plans for yourself by clicking Here!
Wrap up
MySQL is one amazing RDBMS that is available on the market. To install MySQL on your Linux distribution, follow the steps mentioned in this guide. After the installation, you can access the MySQL shell using the “sudo mysql” command or go for a secure MySQL Deployment through the MySQL Secure Installation.
Once MySQL is not required, you can remove it from your Linux distribution to save space and memory using the commands mentioned in this guide.
Subscribe
Login
0 Comments
Oldest