![]()
How to Install Moodle on Ubuntu 18.04 with LEMP Stack (Nginx, MariaDB, PHP)
Moodle is a free and open-source CMS (Content Management System) for serving learning courses. It is a great solution for organizations to provide an courses for students or other users.
In this tutorial we’ll install Moodle on Ubuntu 18.04 using LEMP Stack – Nginxm, PHP, and MariaDB.
Prerequisites
For this tutorial we recommend the following:
- A non-root
sudo user. If you need help setting this up on Ubuntu, you can follow our tutorial on creating sudo users on Ubuntu. - A machine with the minimum requirements of 512 RAM (although 1GB RAM is better), running Ubuntu 18.04
Table of Contents
Get a High RAM VPS at Entry-level Pricing
Starting with 2GB RAM at $6.99/month
Take your pick from our KVM VPS that offer a generous amount of RAM at an affordable price. We've got 5 plans for you to choose from, our cheapest featuring 2GB RAM at $6.99/mo.
[Main Features] - SSD Drives
- KVM Virtualization
- 1Gbps Shared Uplink
- Location: Chicago, IL
Pick one of our KVM plans
Step 1 – Install Nginx Web Server
First we’ll set up a web server. In this tutorial we’ll use Nginx. To install it, update your package index and install nginx via the apt package manager:
$ sudo apt update
$ sudo apt install nginx
After installing nginx, we’ll stop, start and enable nginx to always start on boot:
$ sudo systemctl stop nginx.service
$ sudo systemctl start nginx.service
$ sudo systemctl enable nginx.service
Step 2 – Install MariaDB
Moodle also needs a database server to store and manage part of it’s data. For this, we’ll use MariaDB. To install it, run the following:
$ sudo apt install mariadb-server mariadb-clientAs we’ve done with Apache, after installing it we’ll stop, start and enable MariaDB to make sure it starts on server boot:
$ sudo systemctl stop mariadb.service
$ sudo systemctl start mariadb.service
$ sudo systemctl enable mariadb.service
To secure the installation, MariaDB comes with a script to help adjust some insecure defaults. Start the script by running:
$ sudo mysql_secure_installationIf you haven’t set a MariaDB password already and are prompted with Enter current password for root (enter for none) then just hit enter to move on – you’ll set the password next.
You should be prompted to set the root password for MariaDB. Answer Y to this.
Set root password? [Y/n]And set your password. Make sure it’s different than your SSH password, for security reasons.
You’ll also be prompted to answer some questions to remove/keep some defaults. We recommend you answer them as follows:
Remove anonymous users? [Y/n]: Y
Disallow root login remotely? [Y/n]: Y
Remove test database and access to it? [Y/n]: Y
Reload privilege tables now? [Y/n]:
We’ll also need to configure MariaDB to be compatible with Moodle. To do this, we’ll open up the MariaDB default configuration file:
$ sudo nano /etc/mysql/mariadb.conf.d/50-server.cnfAnd we’ll add the following lines under Basic Settings, in the [mysqld] section:
default_storage_engine = innodb
innodb_file_per_table = 1
innodb_file_format = Barracuda
innodb_large_prefix = 1
It should look something like this:
...
# this is only for the mysqld standalone daemon
[mysqld]

#
# * Basic Settings
#
user            = mysql
pid-file        = /var/run/mysqld/mysqld.pid
socket          = /var/run/mysqld/mysqld.sock
port            = 3306
basedir         = /usr
datadir         = /var/lib/mysql
tmpdir          = /tmp
lc-messages-dir = /usr/share/mysql
skip-external-locking
default_storage_engine = innodb
innodb_file_per_table = 1
innodb_file_format = Barracuda
innodb_large_prefix = 1
...
Save and exit the file when you’re done.
Restart MariaDB to apply the changes:
$ sudo systemctl restart mysql.serviceStep 3 – Install PHP7.1-FPM and Related Modules
Since PHP7.1 may not be available in the Ubuntu default repositories, we’ll have to add a third party repository from which to install it.
We’ll do this by first installing software-properties-common , as it is required by the add-apt-repository command, and then we’ll add the repository:
$ sudo apt-get install software-properties-common
$ sudo add-apt-repository ppa:ondrej/php
Now update your package index:
$ sudo apt updateAnd install PHP7.1 and related modules:
$ sudo apt install php7.1-fpm php7.1-common php7.1-mbstring php7.1-xmlrpc php7.1-soap php7.1-gd php7.1-xml php7.1-intl php7.1-mysql php7.1-cli php7.1-mcrypt php7.1-ldap php7.1-zip php7.1-curlAfter this, we’ll adjust some PHP defaults by editing /etc/php/7.1/fpm/php.ini.
$ sudo nano /etc/php/7.1/fpm/php.iniThen search and adjust the following lines accordingly ( you can change some values depending on your requirements):
file_uploads = On
allow_url_fopen = On
memory_limit = 256M
upload_max_filesize = 100M
max_execution_time = 360
cgi.fix_pathinfo = 0
date.timezone = America/Chicago
Do keep in mind to also uncomment cgi.fix_pathinfo by removing the ; from the start of the line.
Step 4 – Creating the Database for Moodle
Now that we’ve got MariaDB installed and configured on our server, we need to create a database so Moodle can store and manage data.
First log into MySQL, and enter your MySQL password when prompted.
$ mariadb -u root -pOnce logged in, we’ll create the database. We’ll call it moodle but you can call it whatever you want.
MariaDB [(none)]> CREATE DATABASE moodle DEFAULT CHARACTER SET utf8 COLLATE utf8_unicode_ci;Now we’ll create the Moodle user and assign it a password. We’ll call it moodle_admin and assign it M00dle_p@ssw0rd, but you can replace the user and password with whatever you prefer.
MariaDB [(none)]> GRANT ALL ON moodle.* TO 'moodle_admin'@'localhost' IDENTIFIED BY 'M00dle_p@ssw0rd';Exit MySQL when you’re done:
MariaDB [(none)]> FLUSH PRIVILEGES;
MariaDB [(none)]> EXIT;
Step 5 – Download & Install Moodle
Before installing Moodle, we’ll have to download the latest release.
To do this, retrieve the download link for the latest Moodle release, by visiting the Latest Release Download Page in your browser, and retrieving the latest .tgz.
The latest version at the time of writing is Moodle 3.6.2+, and the link looks like this:
https://download.moodle.org/download.php/stable36/moodle-latest-36.tgzWe’re assuming that you’re on a server and have access only to command line, so to download the package we’ll use wget. That link is not a direct download link, however. To obtain the direct download link, we’ll add direct/ after download.php/. The final link will be the following:
https://download.moodle.org/download.php/direct/stable36/moodle-latest-36.tgzNow we’re ready to download Moodle to our Ubuntu machine.
We’ll now change our current directory to /tmp, to keep things clean when downloading temporary files, and then downloading Moodle using wget:
$ cd /tmp
$ wget https://download.moodle.org/download.php/direct/stable36/moodle-latest-36.tgz
Next, we’ll unzip the downloaded archive into our web document root. Most likely it’s /var/www/html. If your web document root is different, then replace /var/www/html with yours.
$ sudo tar -xvzf moodle-latest-36.tgz -C /var/www/htmlRun the following commands to modify the directory owner and permissions:
$ sudo chown -R www-data:www-data /var/www/html/moodle/
$ sudo chmod -R 755 /var/www/html/moodle/
We’ll also create a directory for Moodle to store all the course related data. By default, the data directory is stored in the web root, but it’s more secure to store it out of it so it cannot be accessed directly from a browser:
$ sudo mkdir /var/moodledataThen set the ownership to www-data and change the permissions for the directory so only the owner has full permissions:
$ sudo chown -R www-data /var/moodledata
$ sudo chmod -R 0770 /var/moodledata
Step 6 – Configure Nginx for Moodle
Now we’ll configure Nginx Server Blocks to serve Moodle. We’ll create a new configuration file:
$ sudo nano /etc/nginx/sites-available/moodleAnd add the following contents, replacing the dracula.host with your domain or server IP:
server {
    listen 80;
    listen [::]:80;
    root /var/www/html/moodle;
    index  index.php index.html index.htm;
    server_name  dracula.host www.dracula.host;

    location / {
    try_files $uri $uri/ =404;
    }

    location /dataroot/ {
    internal;
    alias /var/www/html/moodledata/;
    }

    location ~ [^/]\.php(/|$) {
        include snippets/fastcgi-php.conf;
        fastcgi_pass unix:/var/run/php/php7.1-fpm.sock;
        fastcgi_param SCRIPT_FILENAME $document_root$fastcgi_script_name;
        include fastcgi_params;
    }

}
Save and exit the file when you’re done.
Now enable the site by creating a symbolic link into /etc/nginx/sites-available:
$ sudo ln -s /etc/nginx/sites-available/moodle /etc/nginx/sites-enabled/And restart nginx to enable the changes
$ sudo systemctl restart nginx.serviceStep 7 – Finish Moodle Installation in the Browser
To finish up the Moodle installation, we’ll need to do some final configurations in the browser. To do this, navigate to your server’s IP or domain name in the browser.
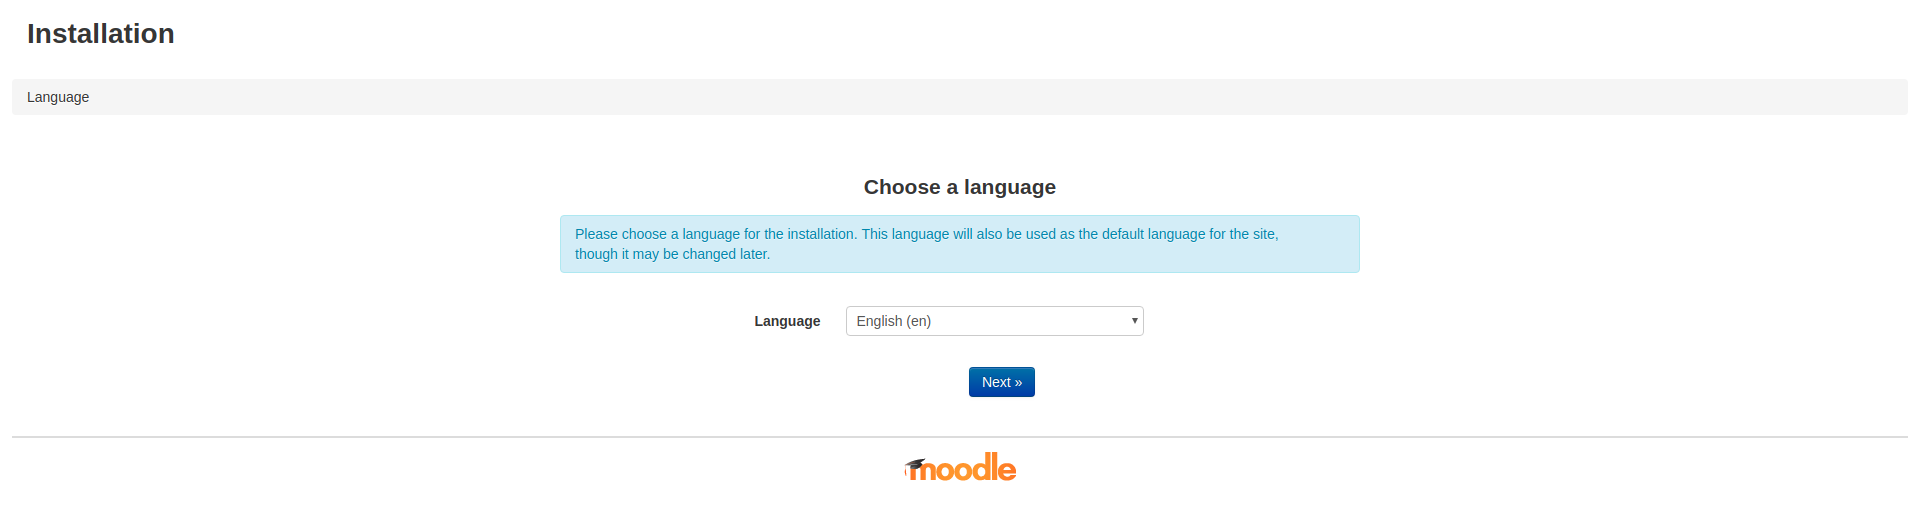
In my case, I’ll navigate to http://dracula.host. You’ll be greeted by the initial page where you choose the language and then click Next to proceed to the next step.
Next, we choose the Moodle installation directory and data directory. If you’ve followed this tutorial, set the Moodle directory to /var/www/html/moodle and the data directory to /var/moodledata.

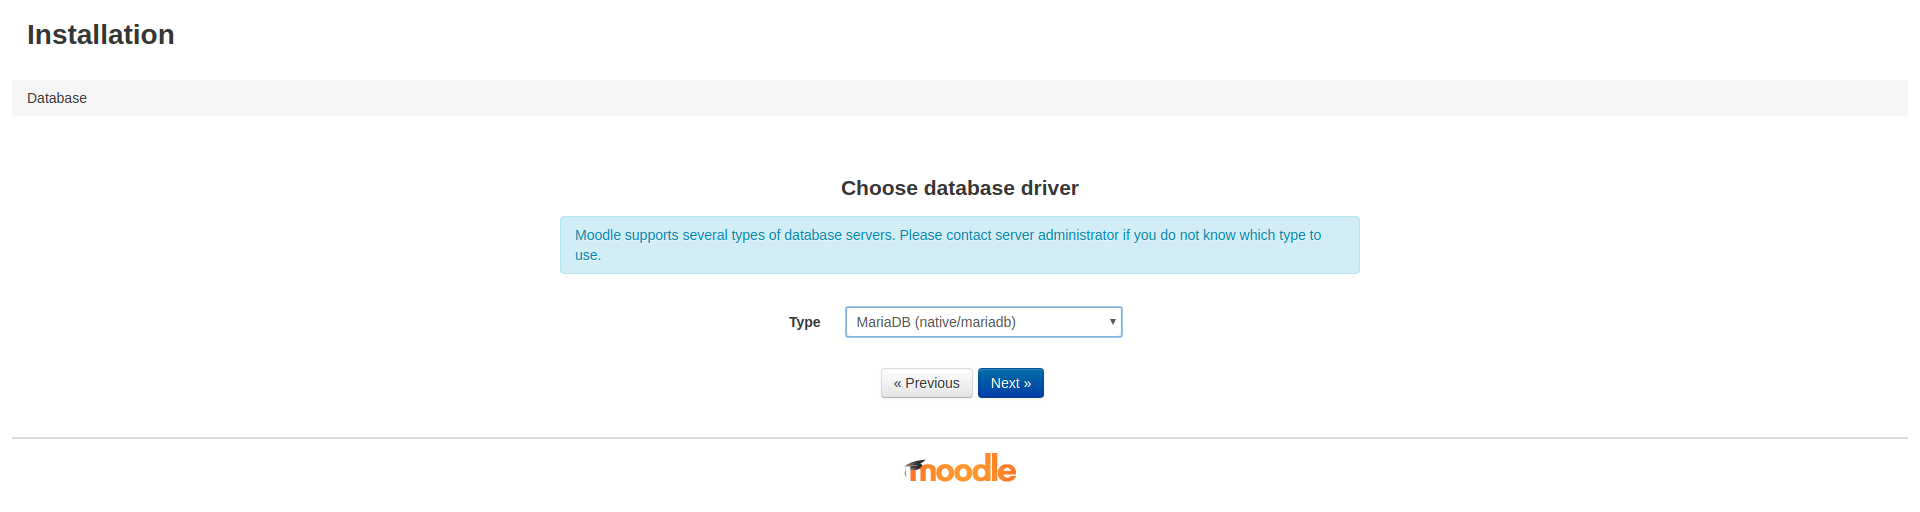
Next, we choose the database driver, which in our case is MariaDB.
Now we provide the Moodle installer with the database details that we set up for it, and leave the others as they are.
Database name: moodle
Database user: moodle_admin
Database password: M00dle_p@ssw0rd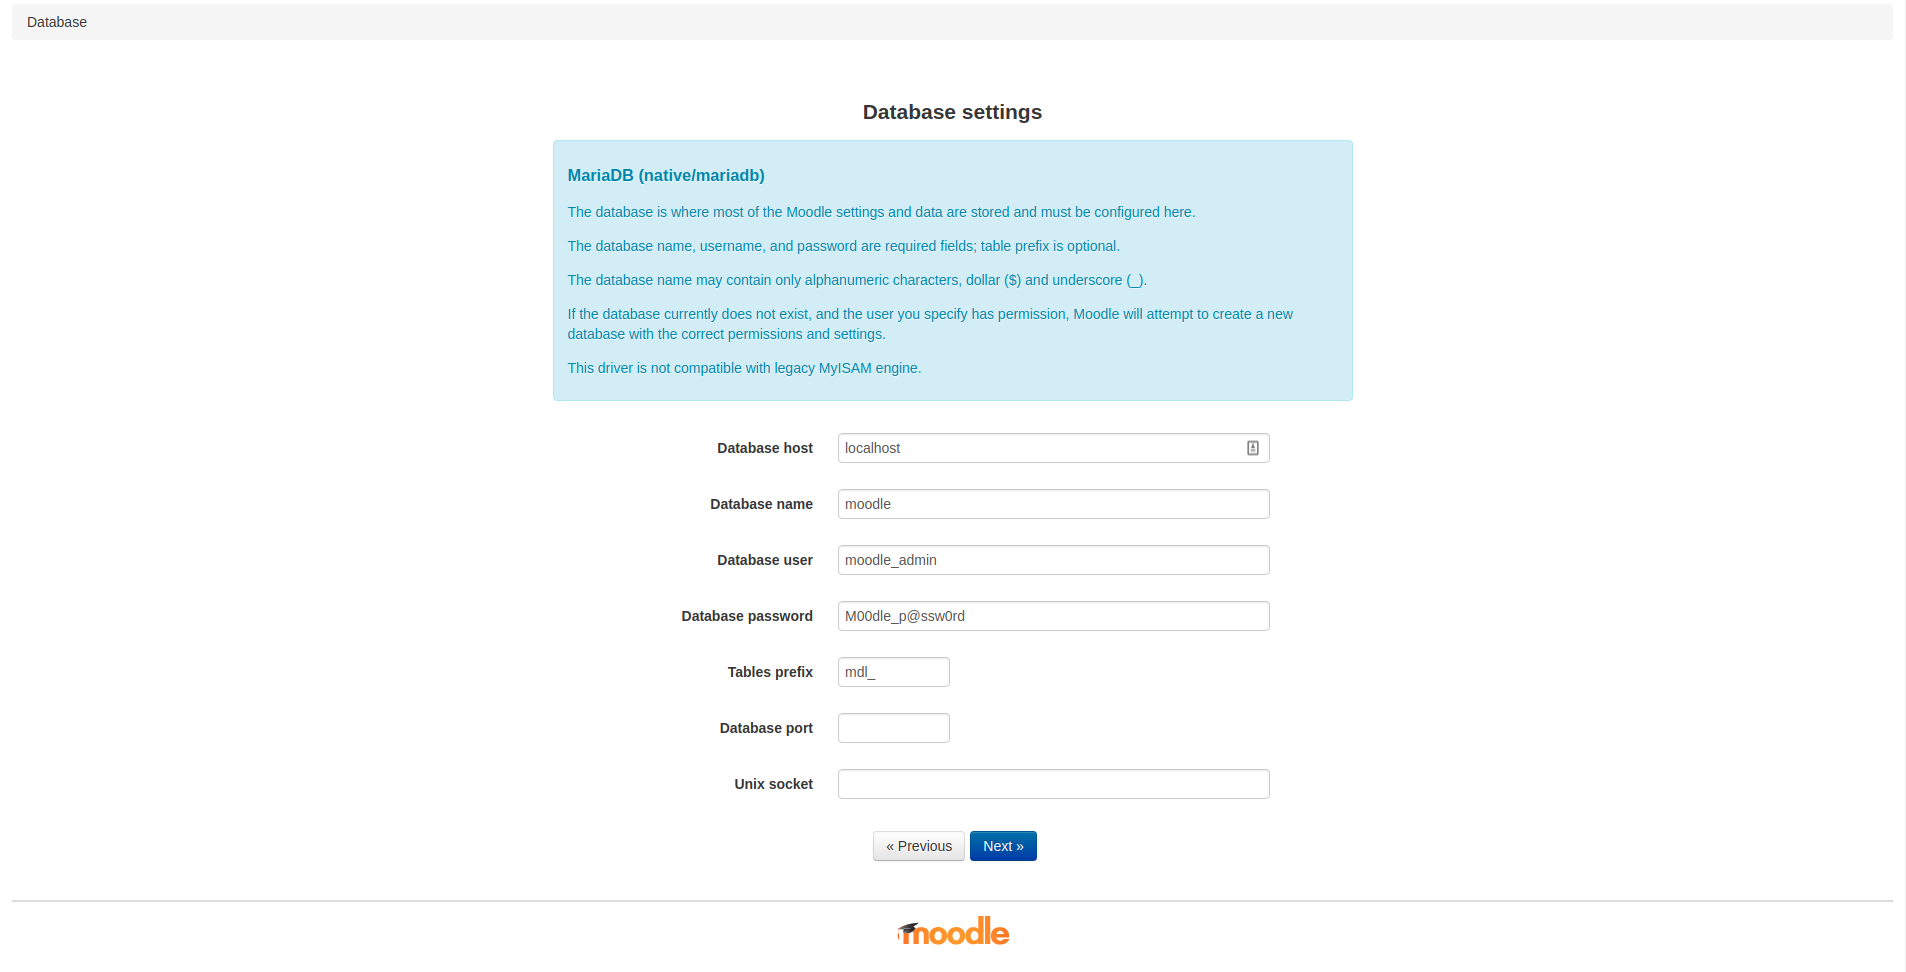
The installer will now perform some checks. Scroll down and click Continue.
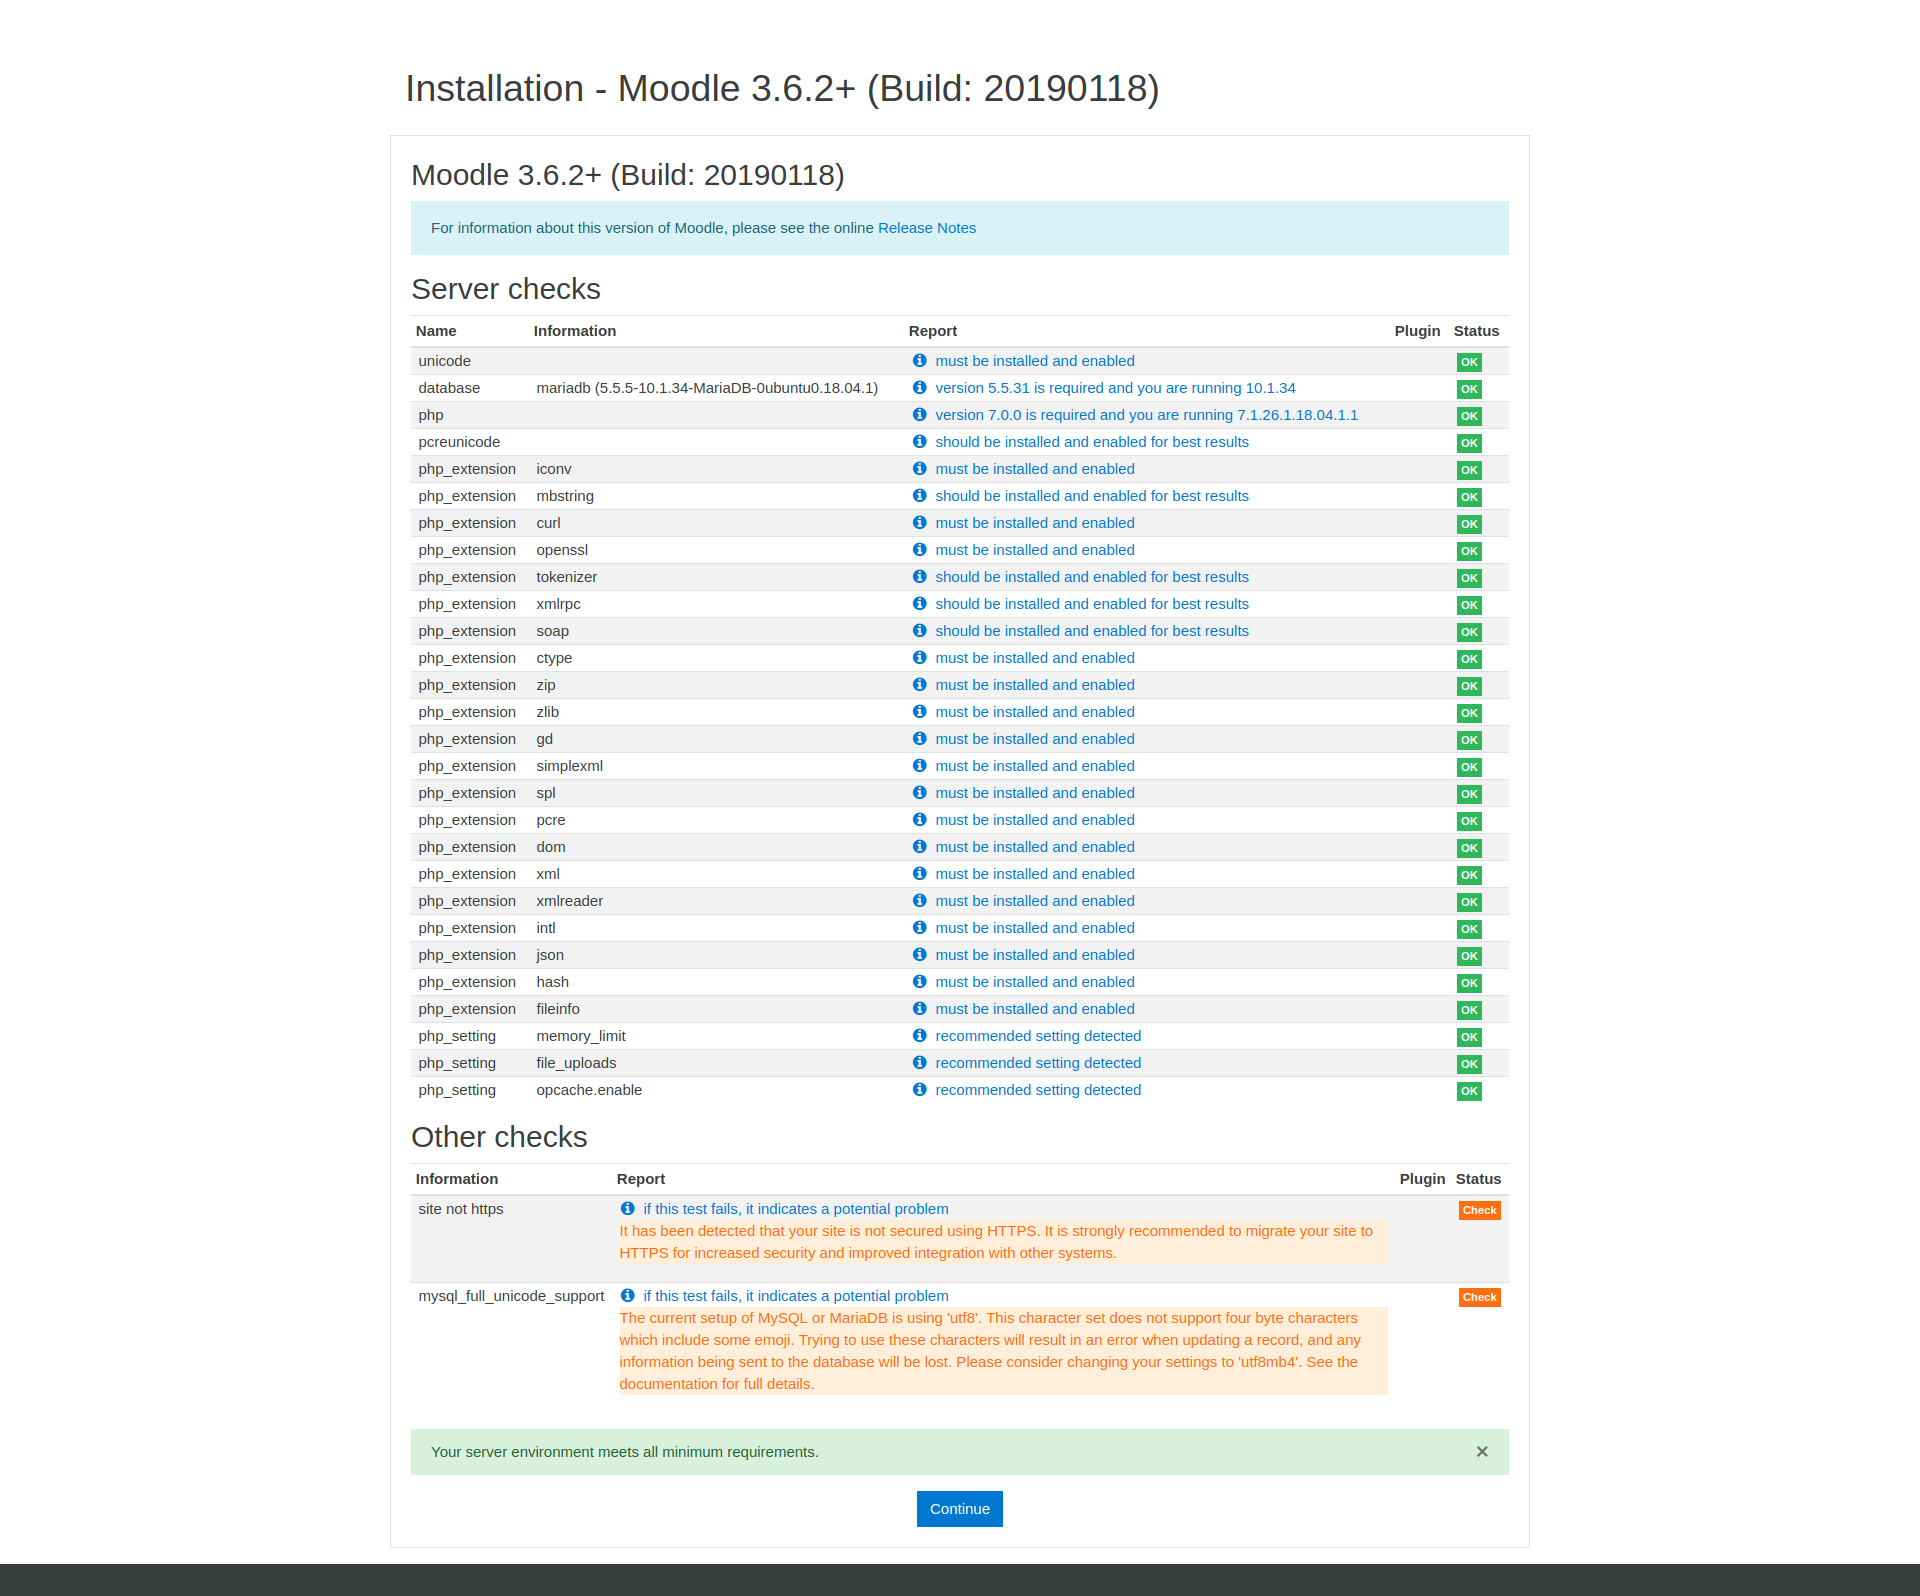
After you’ve clicked, it’ll take a minute to perform some checks, after which you can continue.
This will lead you to the final step, where you set up your admin account.

Conclusion
That’s it. You’ve successfully installed Moodle on Ubuntu 18.04 using LEMP stack.
You can now start adding your courses.
If you’ve found any issues with this tutorial, then feel free to contact us and we’ll get back to you as soon as possible.
Need Help?
Have a server from a different provider and need help? Hit us up!
We offer various services to assist you in achieving your business goal. Working in the industry, we've gained proficiency various areas related to hosting.
[Proficiencies Include] - RADIUS
- WHMCS
- LAMP Stack
- LEMP Stack
- VPN Protocols
- SMTP
- Remote Desktop Solutions
- Linux in general
- WHMCS
- LAMP Stack
- LEMP Stack
- VPN Protocols
- SMTP
- Remote Desktop Solutions
- Linux in general
Hire Us
‘Installation must be finished from the original IP address, sorry.’